Live Channels
Live Channels allow you to connect to a Live Encoder and broadcast your content in real-time.
1. Understanding Live Channels
Live Channels on VP enable real-time broadcasting.
There are two types of channels:
- Standard Channel: For broadcasting any event in real-time.
- Slow TV Channel: Featuring snapshots from live cameras capturing long, ordinary activities in real-time (e.g., plane landings).
Latency settings differ based on the channel type, ranging from Normal (12-30 seconds) to Ultra-Low Latency (6-8 seconds) for Standard Channels.
There are two ingestion types when creating a channel:
- RTMP Push
- RTMP Pull
2. Creating a New RTMP Push Live Channel
1. Go to the Livestream section in the dashboard navigation bar.
2. Click on Live Channels.
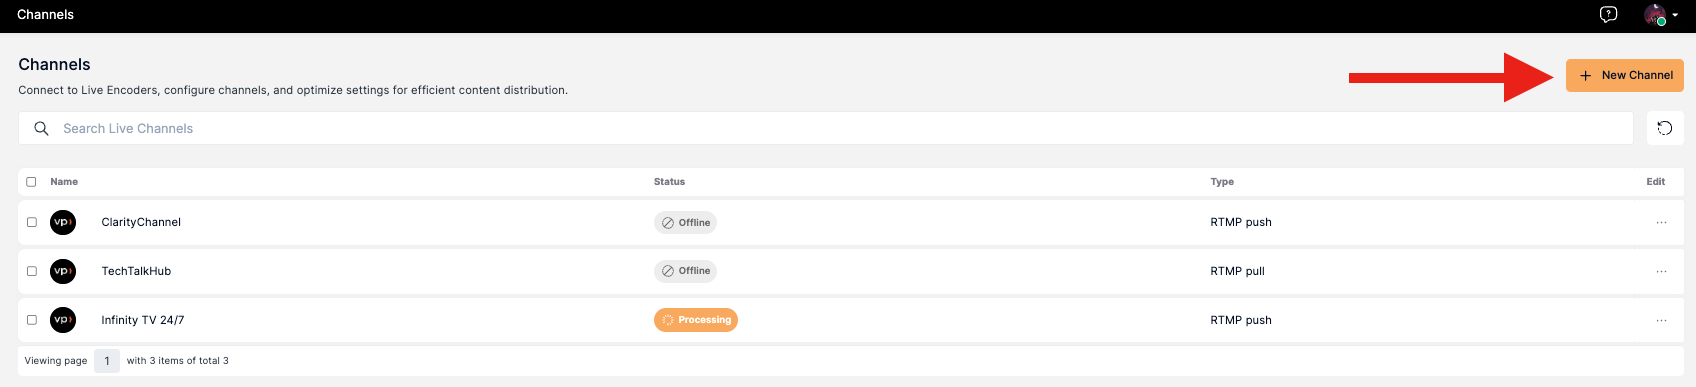
3. Click on the Create New Channel button.
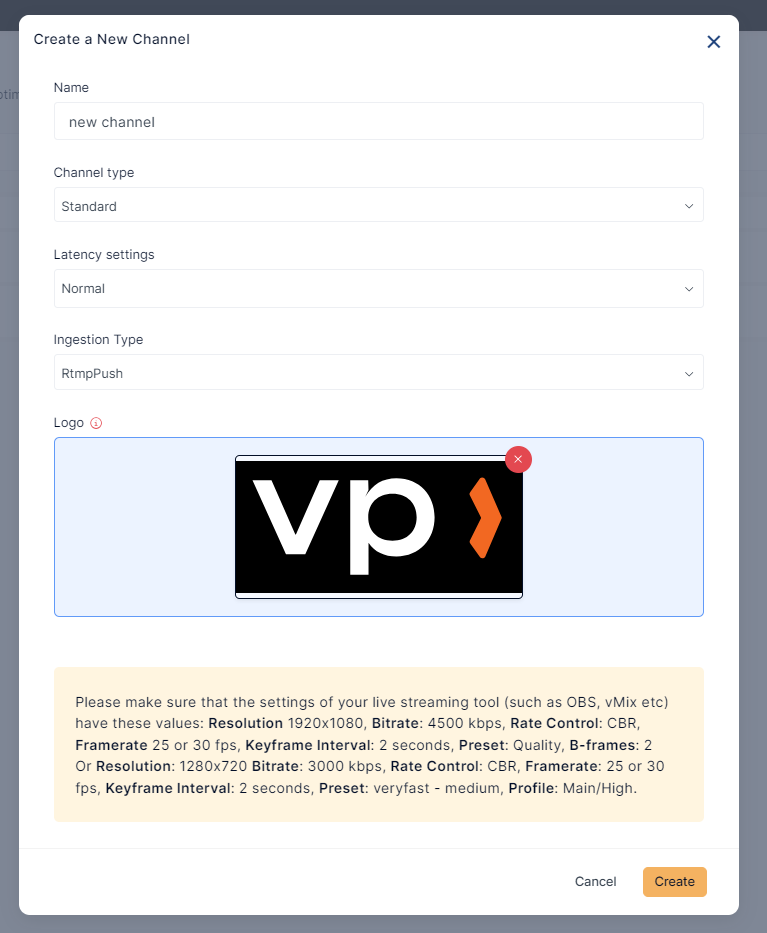
4. Provide a name for your channel, select the type (Standard/Slow TV), choose latency settings (for Standard Channels), upload a logo, and click "Create."
The newly created channel will appear on the Live Channels listing page.
3. Live Channel Details
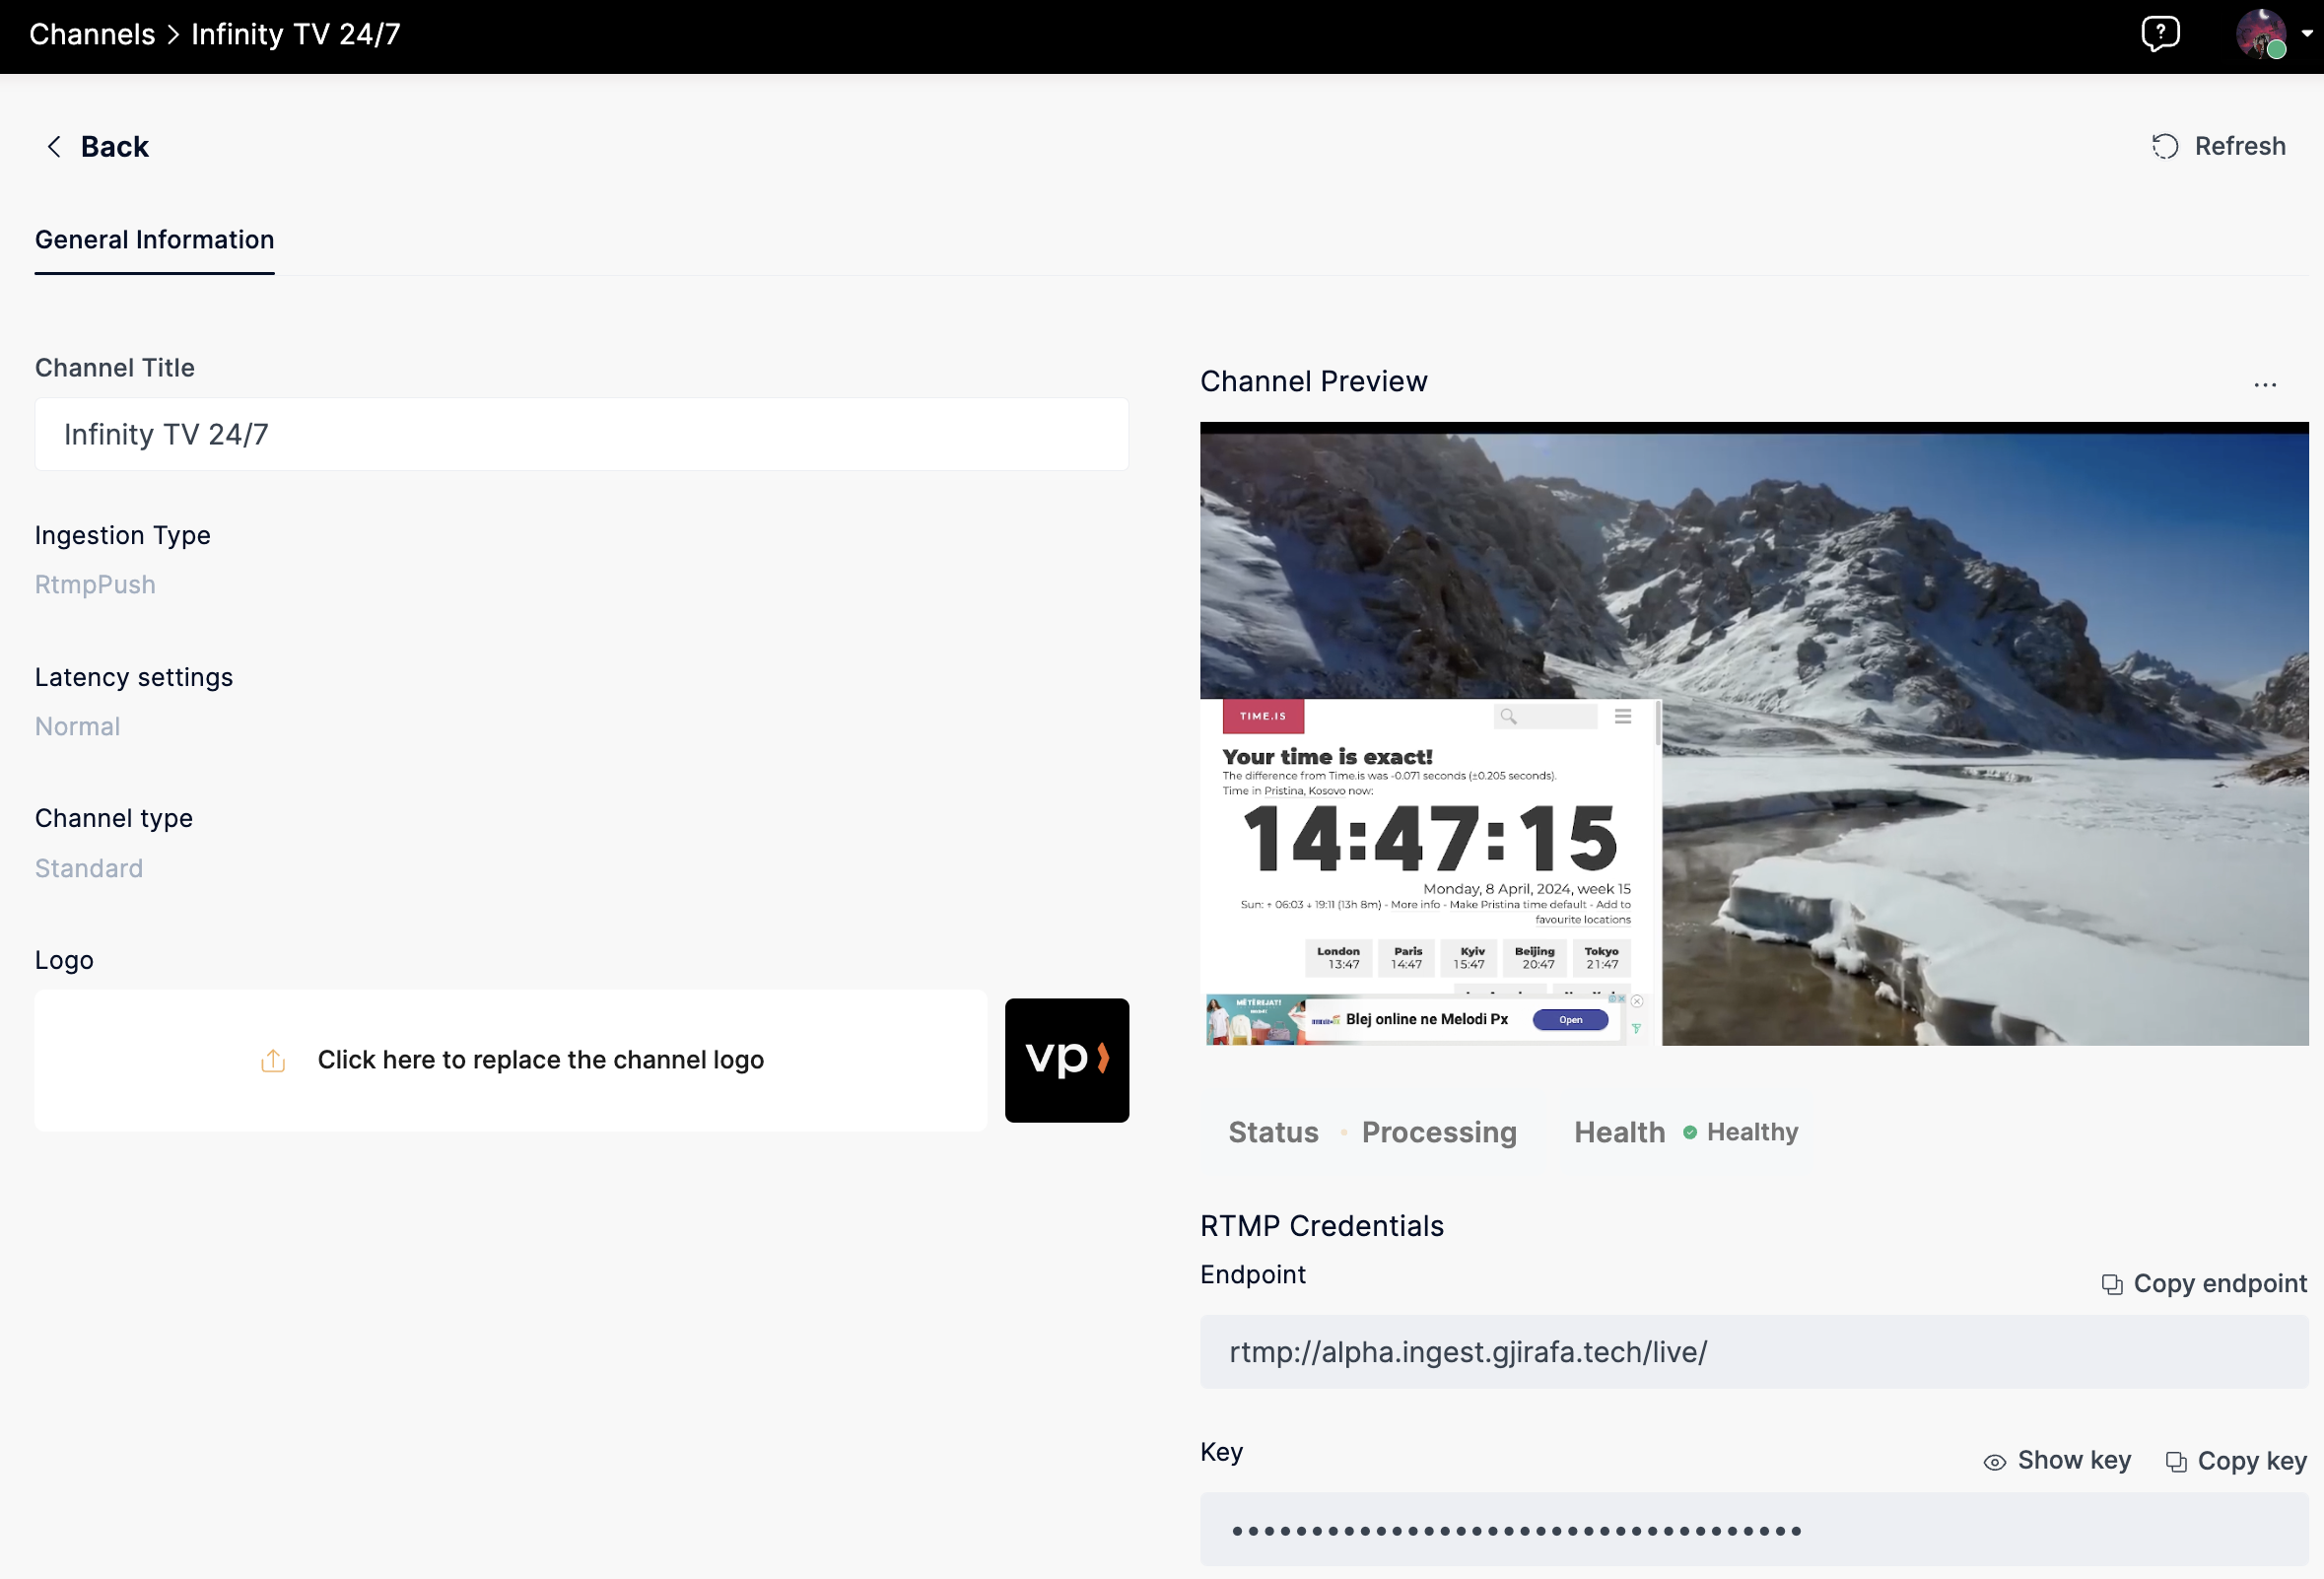
Once created, you can modify channel information, preview the live feed, and obtain RTMP Credentials for streaming software connections.
4. Connecting Live Channels to Streaming Software
1. Access the Live Channels section and select the created channel.
2. Below the video preview, find the RTMP credentials.
3. Copy the credentials and paste them into your streaming software settings.
4. Click "Start Streaming" in your streaming software.
5. Refresh the Live Channel page to view the live preview and status (Processing).
Live Channel Statuses
- Offline: The channel is newly created or streaming software is not active.
- Processing: The channel is connected, streaming, and live.
- Interrupted: The Channel was streaming but the software stopped for some reason.
RTMP Pull User Guide
1. Introduction to RTMP Pull
RTMP Pull is a method of ingesting content into Live Channels. It allows you to push your live stream data to the server for real-time broadcasting.
2. Configuring RTMP Pull for Your Live Channel
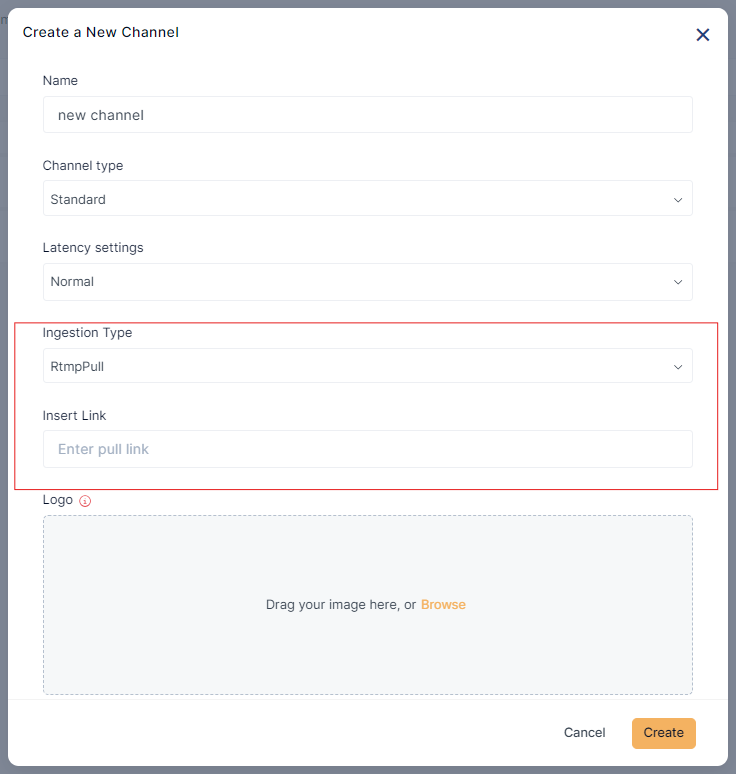
1. When creating a new channel, choose "RTMP Pull" as the ingestion type.
2. Set up your RTMP Pull settings, including server details and stream key.
3. Save the configuration and proceed with creating the channel as per the earlier guide.
3. Troubleshooting RTMP Pull
If you encounter issues with RTMP Pull, check your server details, ensure the correct stream key is used, and verify your internet connection. Refer to the "Live Channel Statuses" section for troubleshooting interrupted streaming issues.