Organization Settings
The Organization Settings section is accessible only to users with the Organization Owner role and includes these tabs:
- General
- Users
- Roles
- Notifications
- Social Platforms
General Tab
The General tab in Organization Settings contains essential organization details, including Public ID, Name, Address, State, Country, City, and VAT number.
- To Update Organization Information:
- Click on your profile and select Organization Settings.
- Go to the General tab.
- Click on the Edit Organization button.
- Update the necessary information (except for the Public ID).
- Click Update Organization to save the changes.
Users Tab
The Users tab displays information about the users of the organization, including Full name, Email, Status (Active, Pending), and Projects they are associated with.
- Add Users to Projects:
Go to Organization Settings.
Navigate to the Users tab.
Click on the "+" in the Projects column.

Select the project and the user's role.
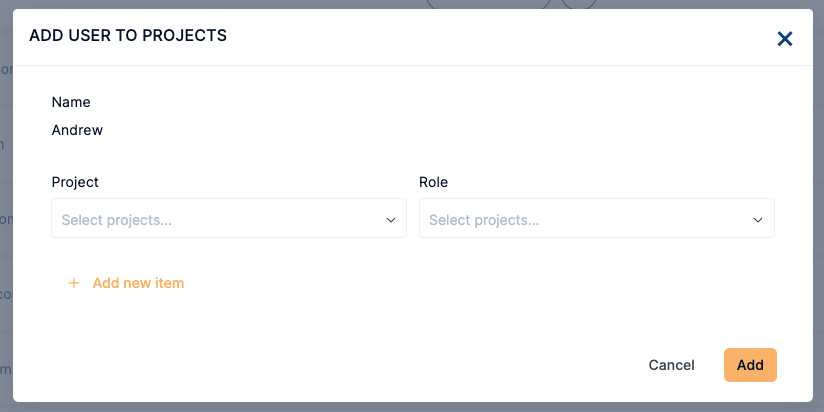
Click Add to confirm.
- Delete User from Organization:
- Click on the three dots beside the user's name.
- Click Delete to remove the user from the organization.

- Resend the invitation to the user with a Pending Status:
- Click on the three dots to the user with pending status.
- Click Resend Invitation to resend the invitation to users who have not accepted it.
- The user will receive the invitation one more time in their email.

Roles Tab
The Roles tab allows the Organization Owner to assign system roles to project users. Currently, there are three System Roles: Organization Owner, Project Owner, and Content Editor.
- Permissions:
- Organization Owner: Full permissions without restrictions.
- Project Owner: All permissions at the project level.
- Content Editor: Permissions are limited to the content level.

The table below displays the permissions and roles:
| Permissions | Organization Owner | Project Owner | Content Editor |
|---|---|---|---|
| Organization | ✓ | ||
| Project | ✓ | ✓ | |
| Players | ✓ | ✓ | ✓ |
| Videos | ✓ | ✓ | ✓ |
| Audios | ✓ | ✓ | ✓ |
| Livestream | ✓ | ✓ | ✓ |
| Ads | ✓ | ✓ | |
| Analytics | ✓ | ✓ | |
| Security | ✓ | ✓ | |
| Properties | ✓ | ✓ |
Notifications Tab
The Notifications tab is used to create Monthly Report Notification on Consumption.
The Monthly Report Notification on Consumption sets email notifications to be sent based on the consumption made by the organization on a monthly basis. VP allows you to create two types of notification on VP:
- Budget Consumption notification
- Monthly Report on Budget Consumption notification
To create these notifications, check the steps below.
Create Budget Consumption Notification:
- Click on your profile and select Organization Settings.
- Go to the Notifications tab.
- Click on New Notification button.
- Select Budget Consumption as the notification type and proceed.
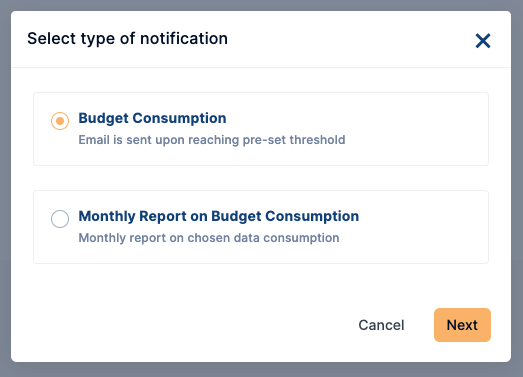
- Specify the data type, set a threshold, add recipients, and customize the message.
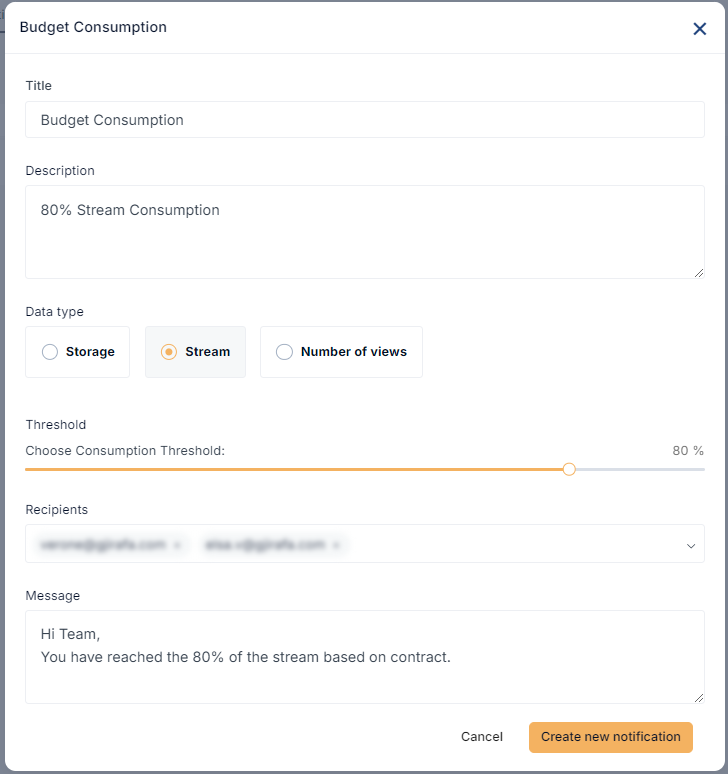
Click "Create New Notification" to confirm.
Create Monthly Report Notification:
- Click on your profile and select Organization Settings.
- Go to the Notifications tab.
- Click on "New Notification" button.
- Select "Monthly Report" as the notification type and proceed.
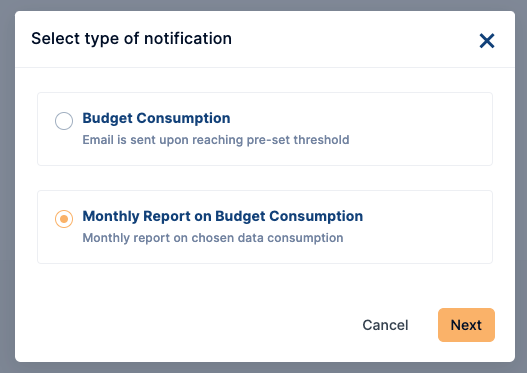
- Specify the data type(s) such as Storage, Stream and Number of views, set the notification date and time, add recipients, and save the notification.
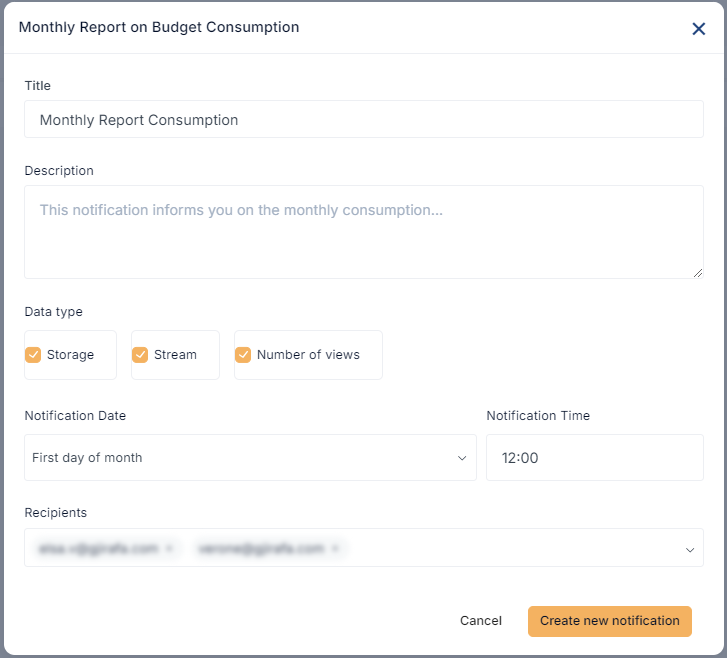
Edit/Delete Notifications:
- Go to Organization Settings.
- Visit the Notifications tab.
- Click on the three dots beside the notification.
- Choose Edit to make changes or Delete to remove the notification.
These settings empower Organization Owners to manage users, roles, and notifications effectively, ensuring smooth operation within the organization.

Social Platforms Tab
Social Distribution in VP allows you to share your content on external platforms such as Facebook and YouTube. By connecting your VP account with your social media accounts, you can extend your reach and engage with a wider audience. This guide will walk you through the process of setting up Social Distribution in VP.
- Social Platform connection
In Organization Settings, find the tab labeled "Social Platforms."

Click on the "+ New Connection" button on the right side.
Two options will appear to connect with: Facebook and YouTube.
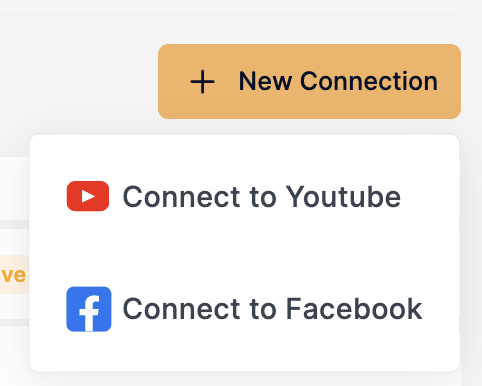
Click on the platform you want to connect.
- Creating a Connection
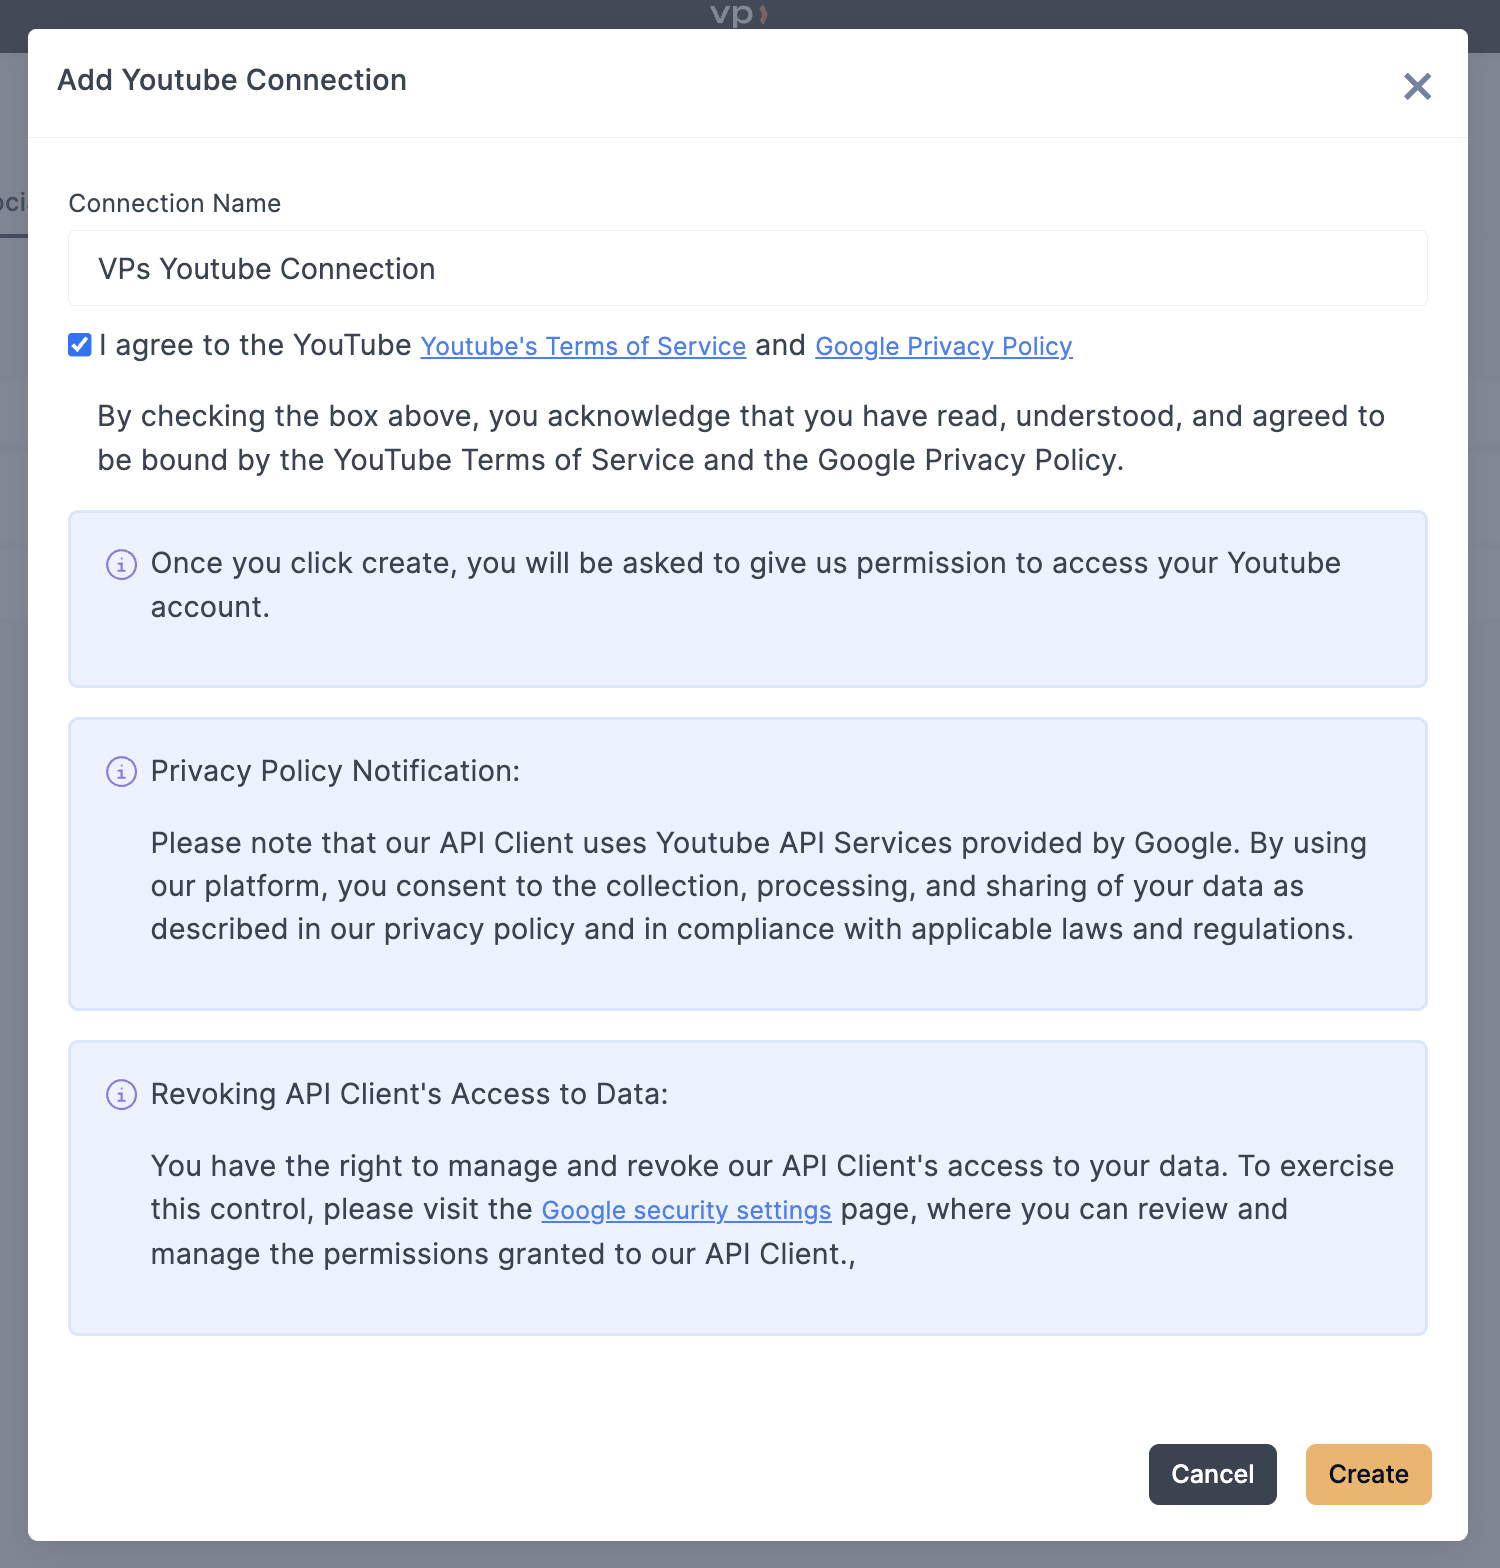
- After selecting the platform and naming the connection, click on the "Create" button.
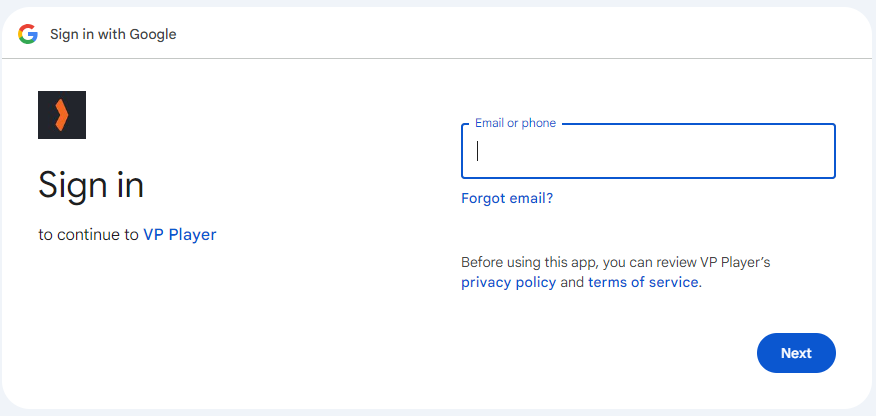
- A pop-up window will appear, asking for permission to connect VP with your social media account. Review the permissions required and click on "Allow" or "Authorize."
- You may need to log in to your social media account if you are not already logged in.
- Once the connection is successful, you will receive a confirmation alert.

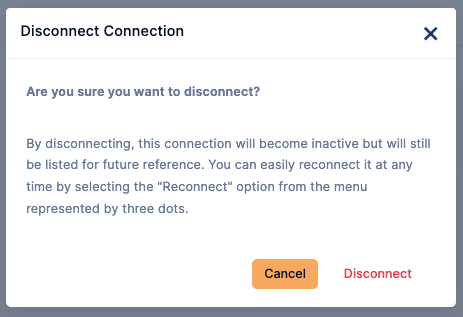
- Disconnection
If you wish to disconnect your social media account from VP:
- Go back to the "Social Platforms" tab in Organization Settings.
- Click on the three dots next to the connected platform.
- Look for the option to "Disconnect" or "Revoke Access".
- Confirm the disconnection. Once disconnected, the Social Distribution feature will be disabled.
- Reconnection After Token Expiry
By default, the connection expires after 30 days. Twenty-four hours before the token expires, the user is notified via email.
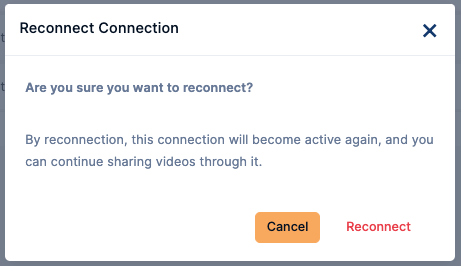
If your token has expired:
- Return to the "Social Platforms" tab in Organization Settings.
- Click on the three dots next to the connected platform.
- Look for the "Reconnect" option.
- Click this option and re-give access to the platform.
By following these steps, the user sets up Social Distribution in VP. The content can be shared easy on the connected social media platforms by the project owner and content editor, expanding your audience reach and engagement.