Project Settings
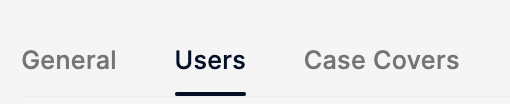
The Organization Settings section is accessible only to users with the Project & Organization Owner role and includes these tabs:
- General
- Users
- Case Covers
General Tab
The General tab displays essential information and configuration options for your project. Here's what each section represents:
- ID: A unique identifier for the project.
- Name: The display name of the project.
- Bisko ID: Identifier for Bisko integration.
- Prebid Config ID: Identifier for prebid configuration.
- ChromeCast Application ID: Identifier for Chromecast integration.
- DRM License URL: URL for the DRM license server.
- FPS Certificate URL: Link to the FPS (FairPlay Streaming) certificate.
- Widevine License URL: URL for the Widevine license.
- Player URL: Direct link to the video player script used for playback.
- Player Version: Version of the player currently in use.
- GeoBlocking Rule: Toggle switch to enable or disable geo-restriction for the content.
- Encoding Templates: Displays the default encoding template used for the project if no other template is specified.
- GAM Integration: Option to upload or replace the Google Ad Manager integration configuration.
At the bottom of the page:
- Secure URLs: Indicates if secure URL support is enabled or disabled.
- Get secret key: If Secure URLs are enabled, clicking this button will display the token used for generating secure URLs.
Users Tab
The Users tab lists all project users along with their personal details, status, and roles. Here, users can invite others, modify existing users' roles, or remove them from the project.
Add User to Project:
Click on your profile and select Project Settings.
Navigate to the Users tab.
Click Add Users.

Enter the user's email address and select their role.
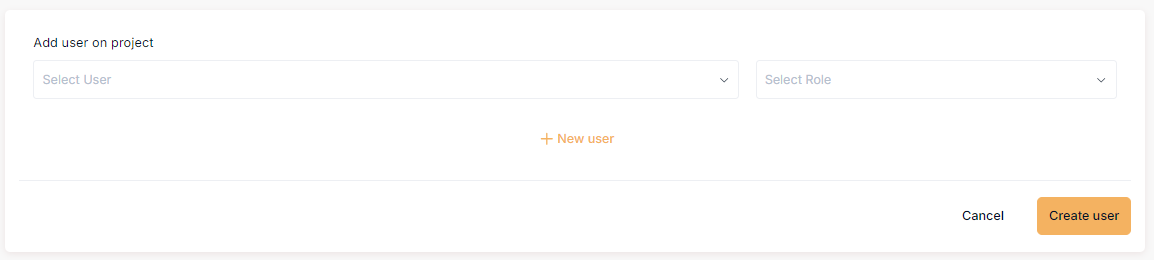 tip
tipView all User roles by clicking here
Click Create User button and the user will be added to the list.
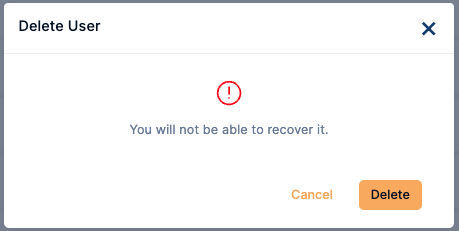
Remove User from Project:
- Click on your profile and select Project Settings.
- Go to the Users tab.
- Click on the three dots next to the user's name.

Select "Delete" button and the user will be removed from the project.
Resend the invitation to the user with a Pending Status:
- Go to Project Settings.
- Visit the Users tab.
- Click on the three dots to the user with Pending status.
- Click Resend Invitation to resend the invitation to users who have not accepted it.
- The user will receive the invitation in their email.

Case Covers Tab
Case covers in VP serve as visual indicators during live streams, representing different states of the stream such as pre-live, post-live, pause, and problem situations.
- Upload the appropriate pictures or videos for the following cases:
- Prelive Case Cover: This image or video is displayed before the live stream starts.
- End Case Cover: Shown after the stream has ended.
- Pause Case Cover: Displayed during a pause in the live stream.
- Problem Case Cover: This appears if there is an issue or problem during the live stream.
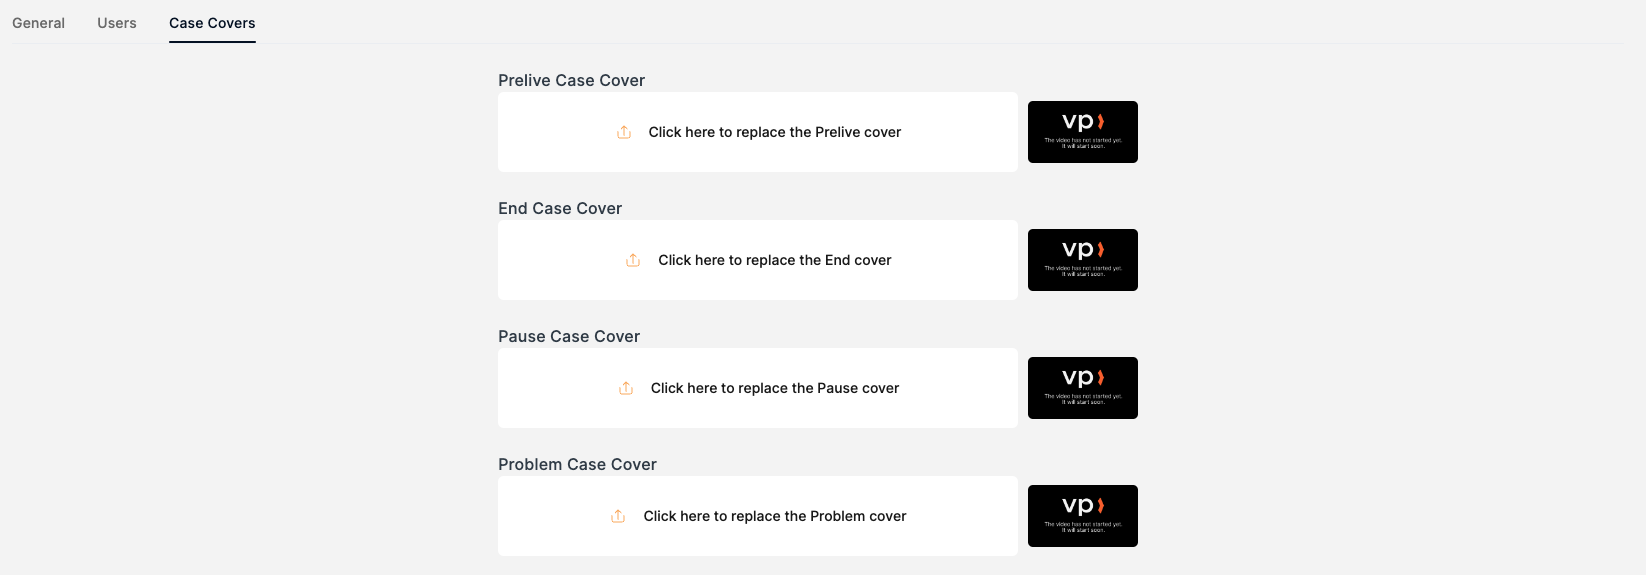
You can change the default case cover by clicking on 'Click here to replace the case cover'.
These visuals are used during the live stream and can be switched manually as needed.
The case covers uploaded in the Project Settings serve as default visuals. If you want to customize case covers for specific videos, you can do so at the edit page of the live video level.