Audios
Upload Audios
VP offers multiple ways to upload audio content
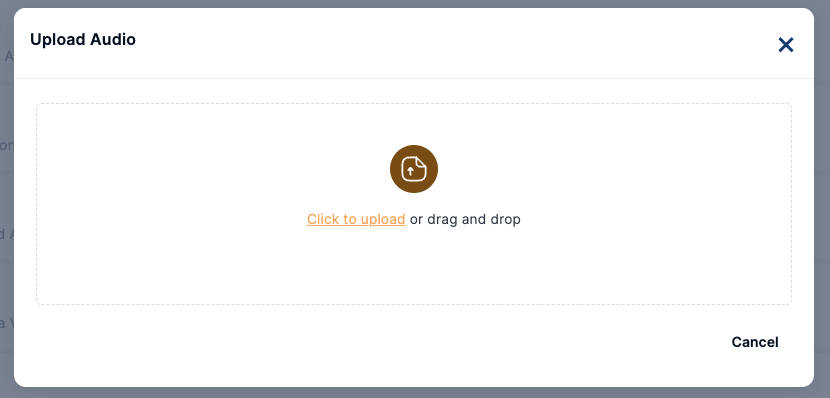
- Upload from Computer: Add audio files by selecting or dragging them into the dashboard from your computer storage.
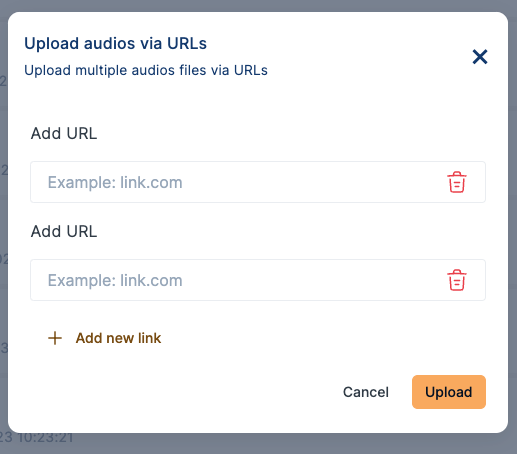
- Upload via URLs: Upload audio files by adding multiple URLs using the Upload from the List option.
- Upload through API: Integrate external platforms with VP Player to manage audio files directly from there, seamlessly integrating with your project.
After uploading, audios are swiftly encoded up to 320 Kbps resolution and stored in our in-house CDN, ready for delivery.
Manage Audios
The Audios section of VP is a powerful tool for managing audio content efficiently. By following the steps outlined in this user guide, you can import, edit, and organize audio files with ease.
1. General Information Tab
The 'General Information’ tab gathers all audio’s general information. Users can also preview the audio and embed it into their websites from this tab.
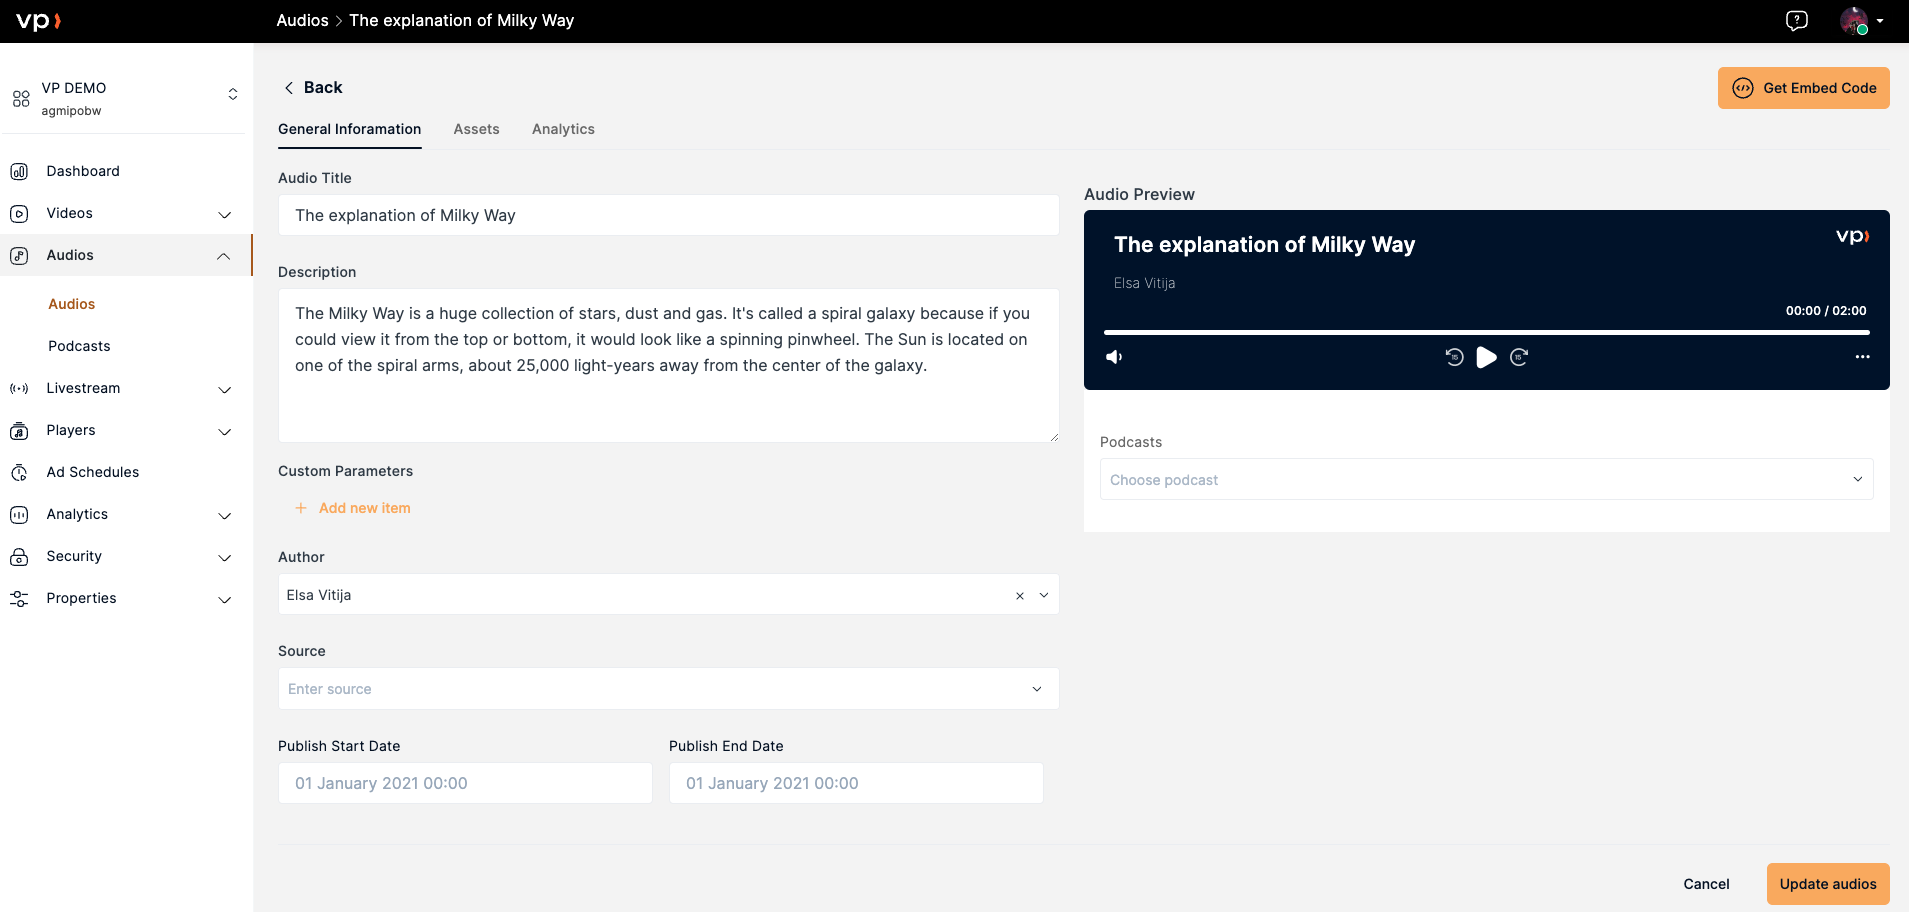
The list of general information settings and their description is listed on the table below:
- Title: Set the title of the audio file.
- Description: Provide a description of the audio content.
- Custom Parameters: Add custom key-value pairs as needed.
- Author: Specify or modify the author's name.
- Source: Define the source of the audio content.
- Publish Start Date: Set the date when the audio will become accessible.
- Publish End Date: Choose the date when access to the audio content will expire.
2. Assets Tab
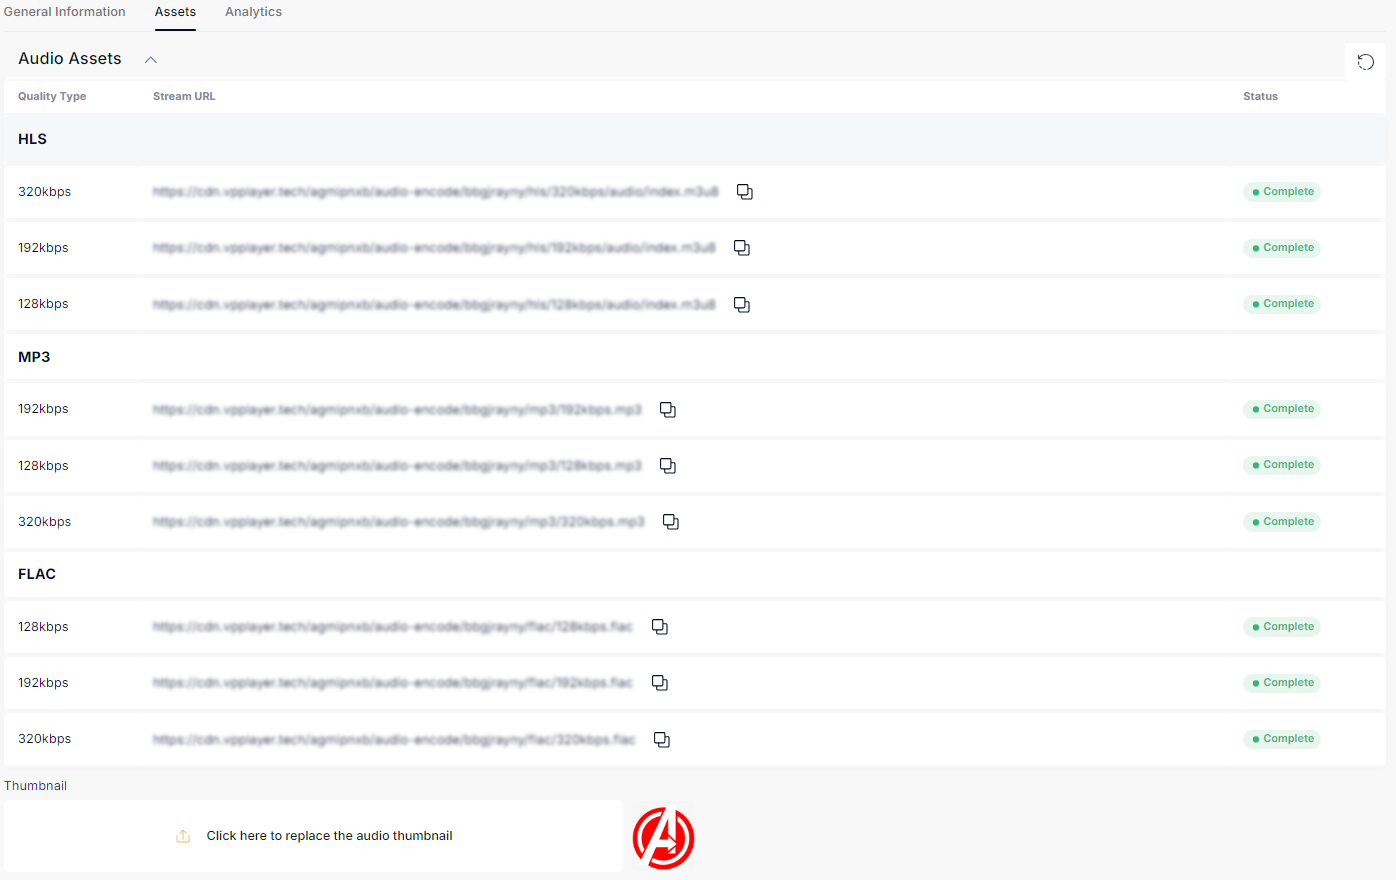
On the Assets page, you can manage various aspects of the audio file:
- Download Audio: Access audio qualities up to 320 kbps in HLS, MP3 and FLAC format
- Thumbnail: Upload a thumbnail image for the audio file to enhance its visual representation.
3. Analytics Tab
The Analytics Tab in Audio Settings covers all the data stored for the specific audio, including live listeners, listeners, embeds, unique listeners, consumption rate and more.
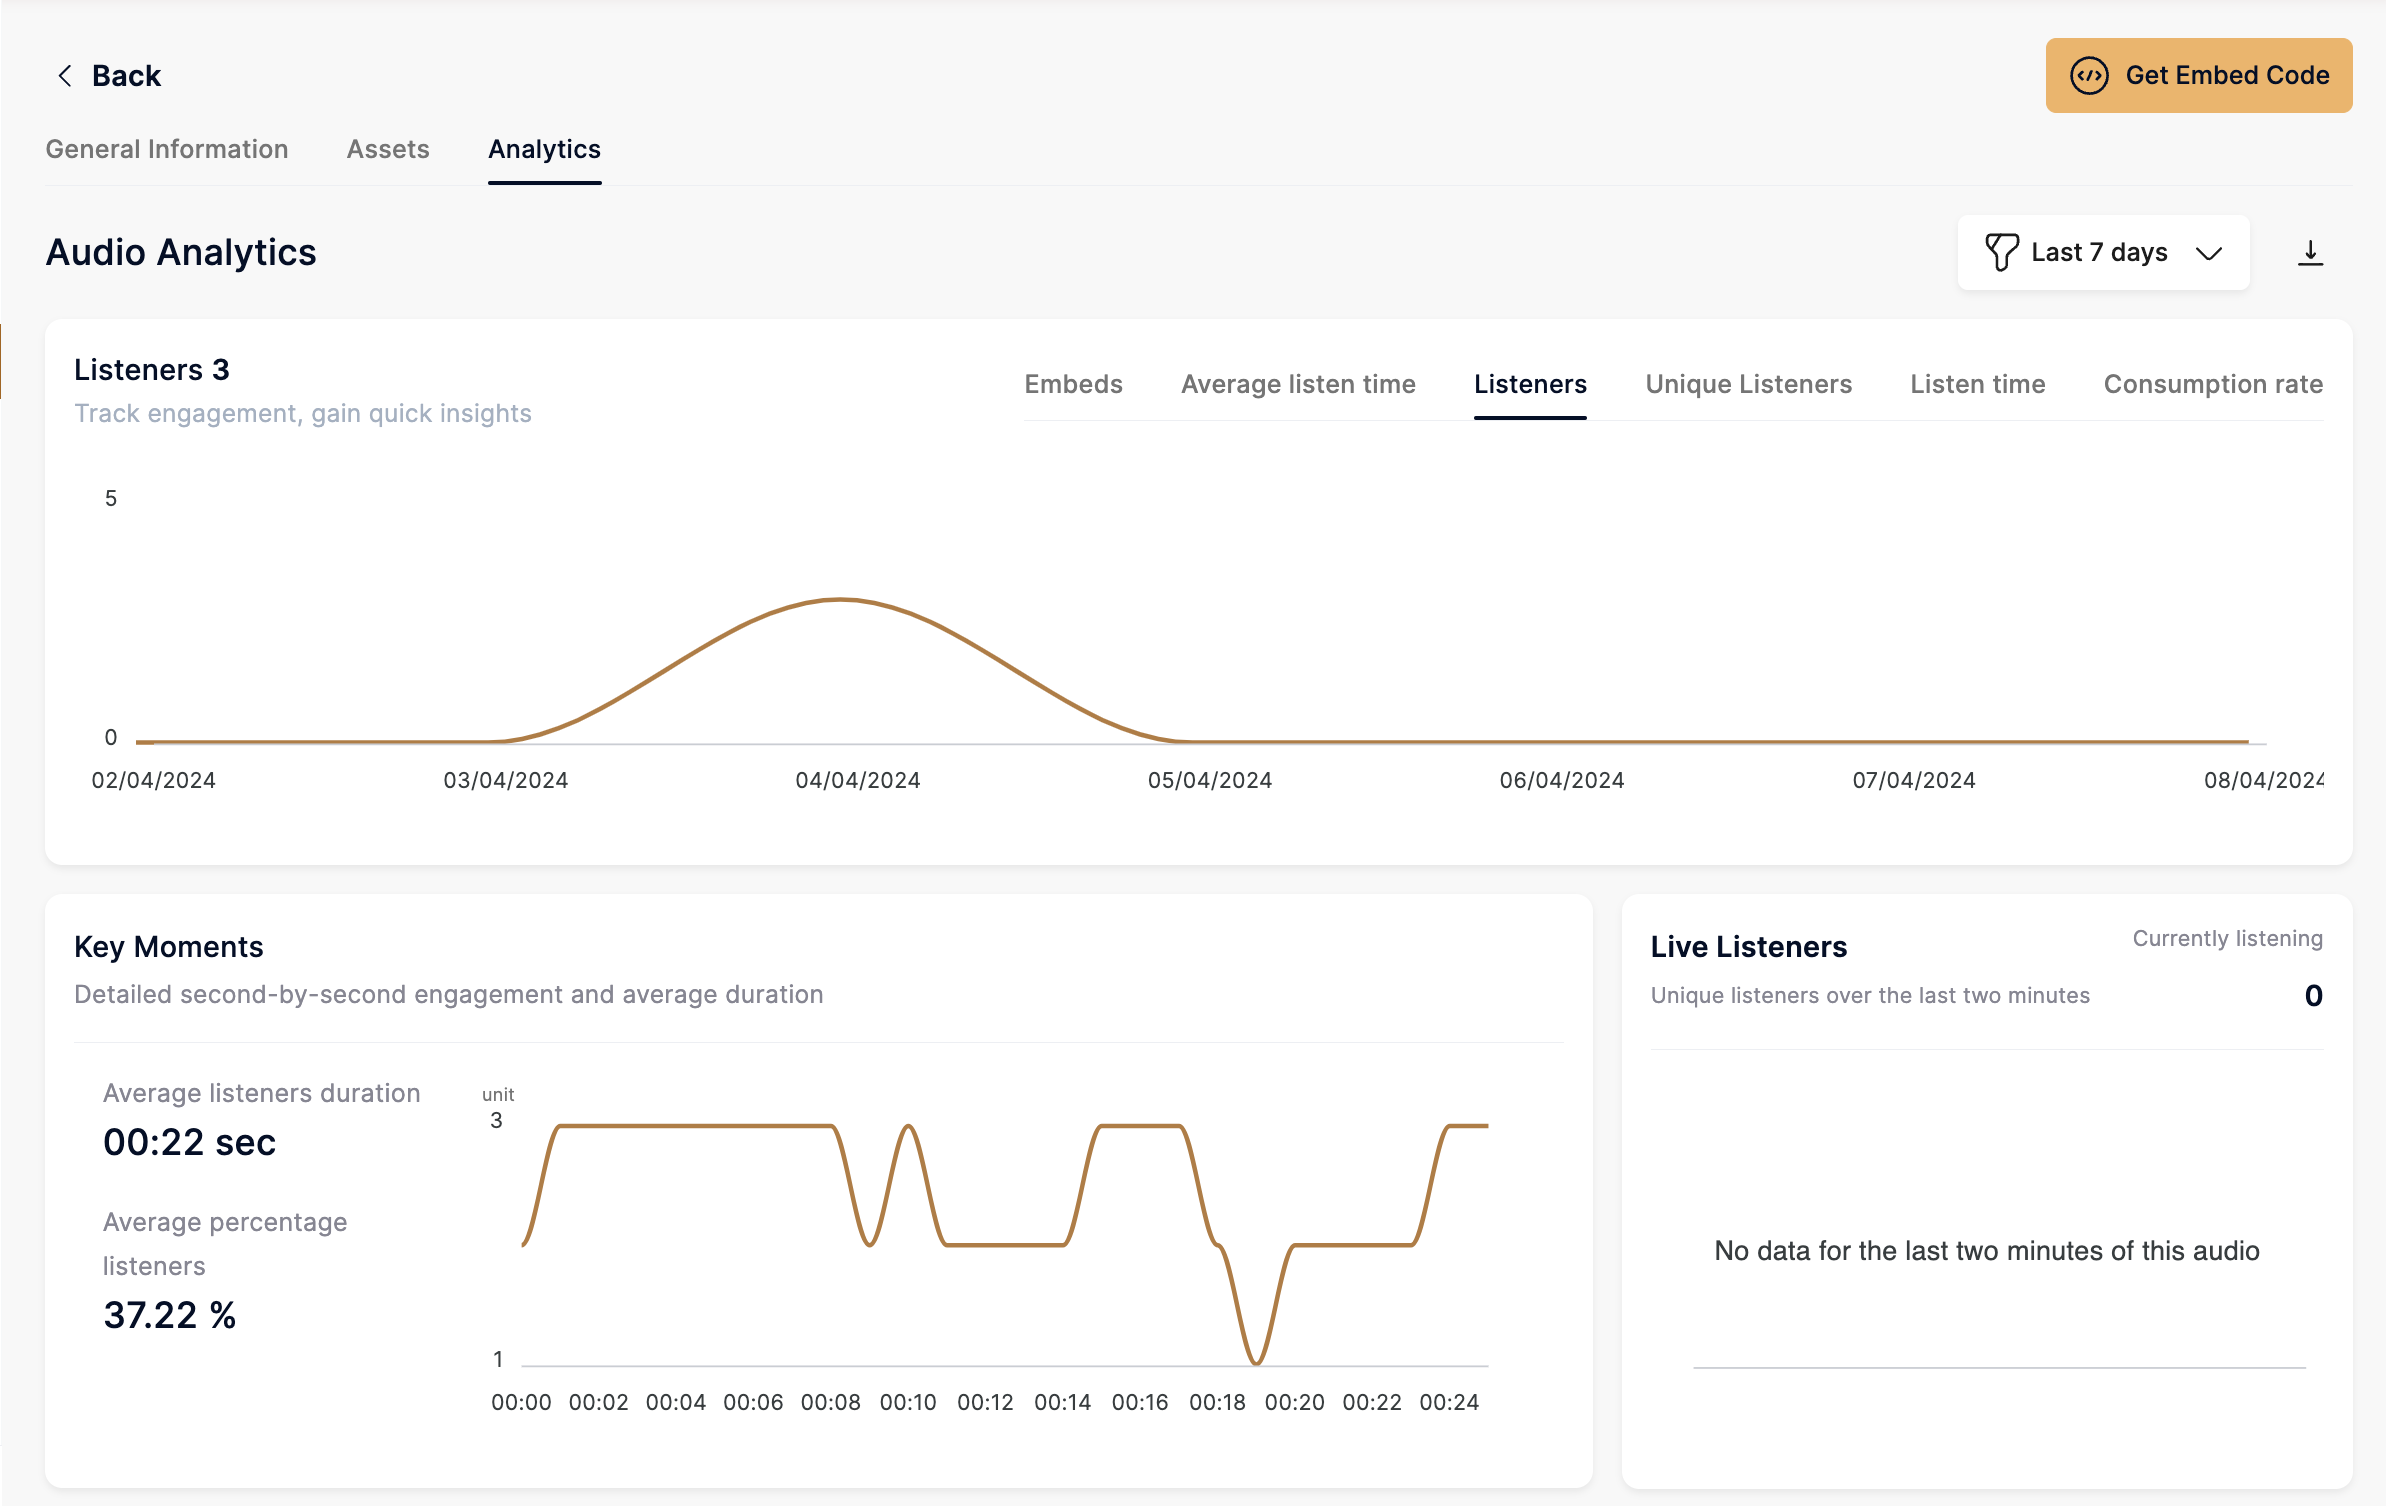
To explore all analytics filters and metrics, check out Analytics
To Deliver a Audio
VP is dedicated to supporting the delivery of high-quality content in the easiest way possible.
Embed an Audio
- Go to the audio library and click the Embed button or select a audio and click Embed in Audio Edit Page.

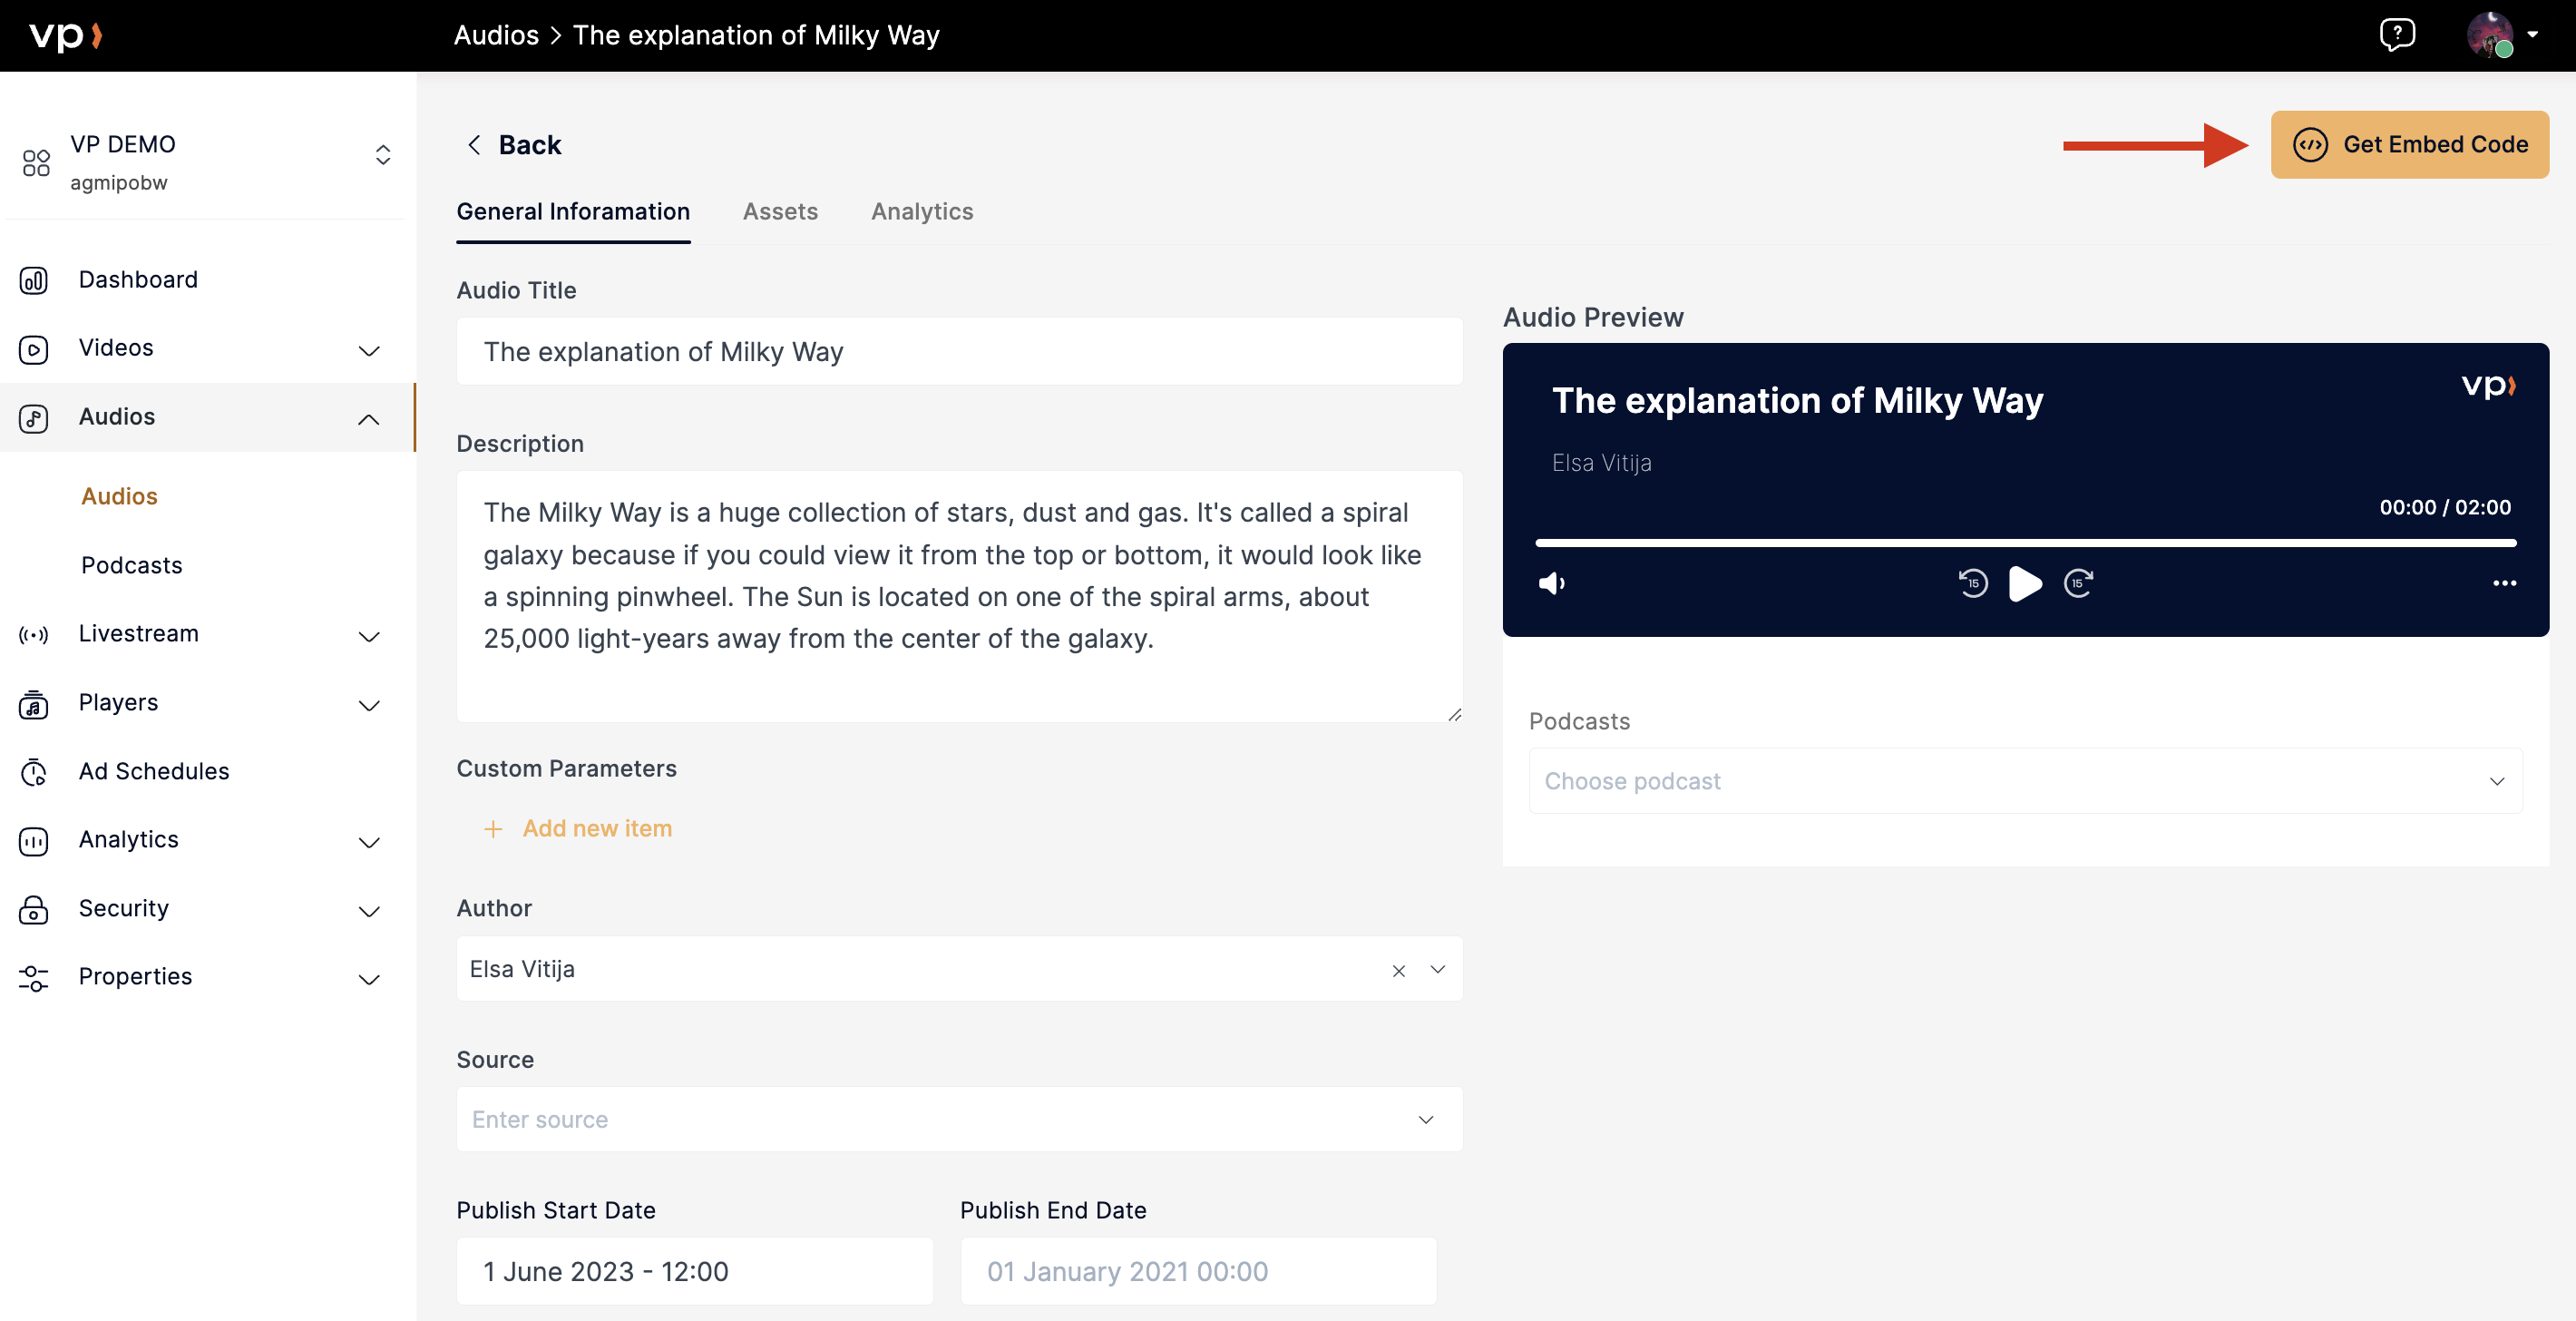
- Choose the player for the embedded audio.
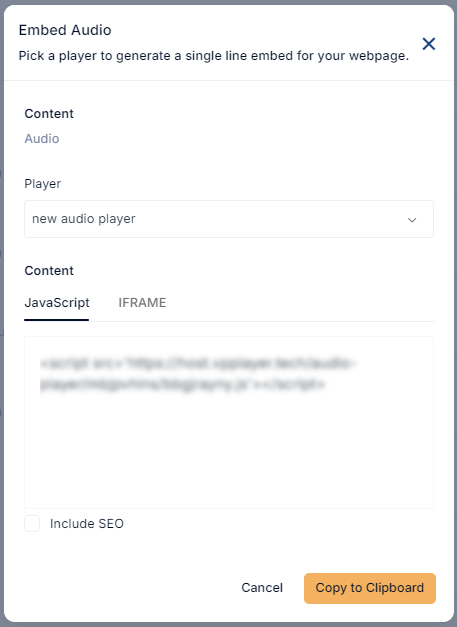
- Copy the generated script as JavaScript or iFrame and paste it into your webpage for smooth embedding.
Edit/Delete Audios
- Navigate to Audios in the left navigation bar.
- Click the three dots next to the audio name.

- Choose Edit to modify the audio or Delete to remove it, eliminating it from the listed audios and associated podcasts.
Listing Page
On the listing page of the audio, you will find various details and actions:
- Encoding Status: The progress bar provides information about the status of encoding, showing the percentage of completion.
- Audio ID: A unique identifier for each audio file.
- Date: The date when the audio file was added.
- Author: The name of the audio's author.
- Embed: This option allows you to embed the audio file.
- Delete: You can remove the audio file if needed.