Chat
The chat in the designer section is about designing the layout of the chat which will then be used on the media page.
Multiple chats can be created and designed, but only one can be chosen per media page.
Design chat
Click on a created chat
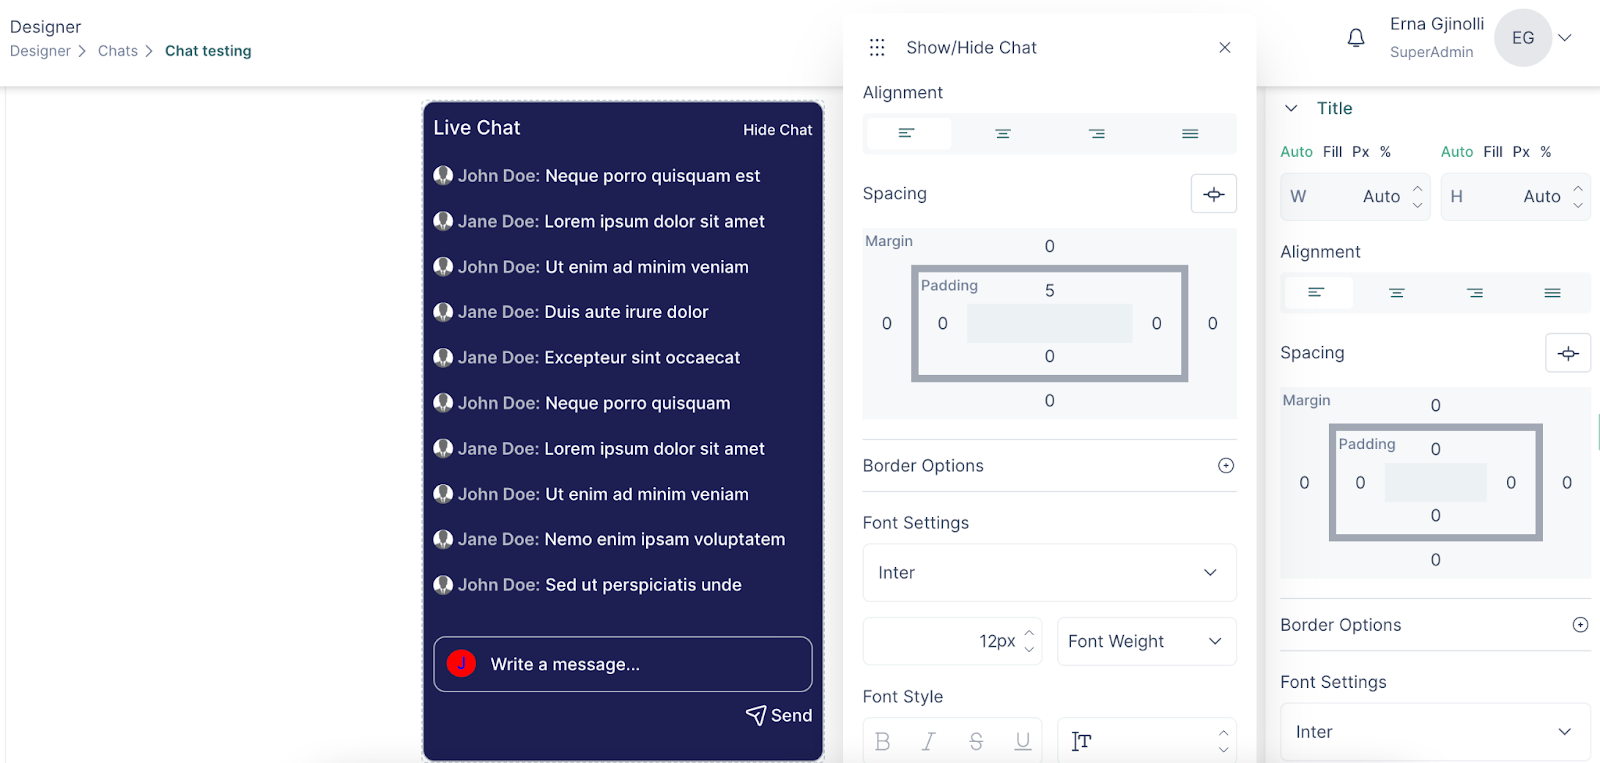
In the designer page, start off by setting proper spacing by using the margin and padding options on the General section
Set a background color and borders if necessary
The Title section contains the settings related to the “Live chat” and “Hide chat” style

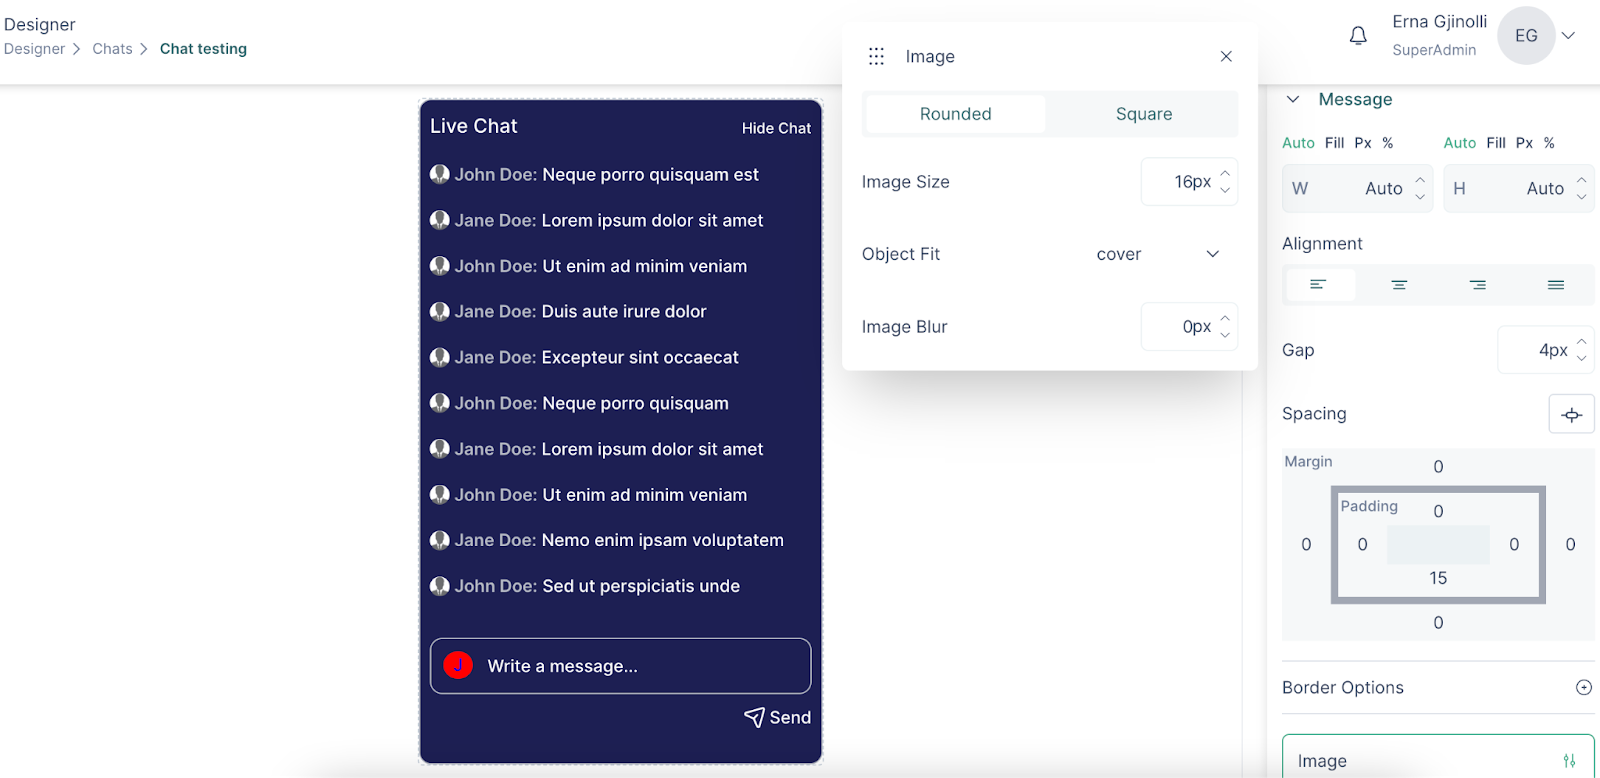
The Message section handles the design and style of the messages which are displayed on the Live chat. Use the padding options to set proper spacing between messages.
- Apart from the text, the messages section also contains the Image and Author setting.
- The Message box section allows for the styling of the message box as seen by the sender
- Finally, there are the ‘Send’ button settings which contain styling options both for the text and the icon
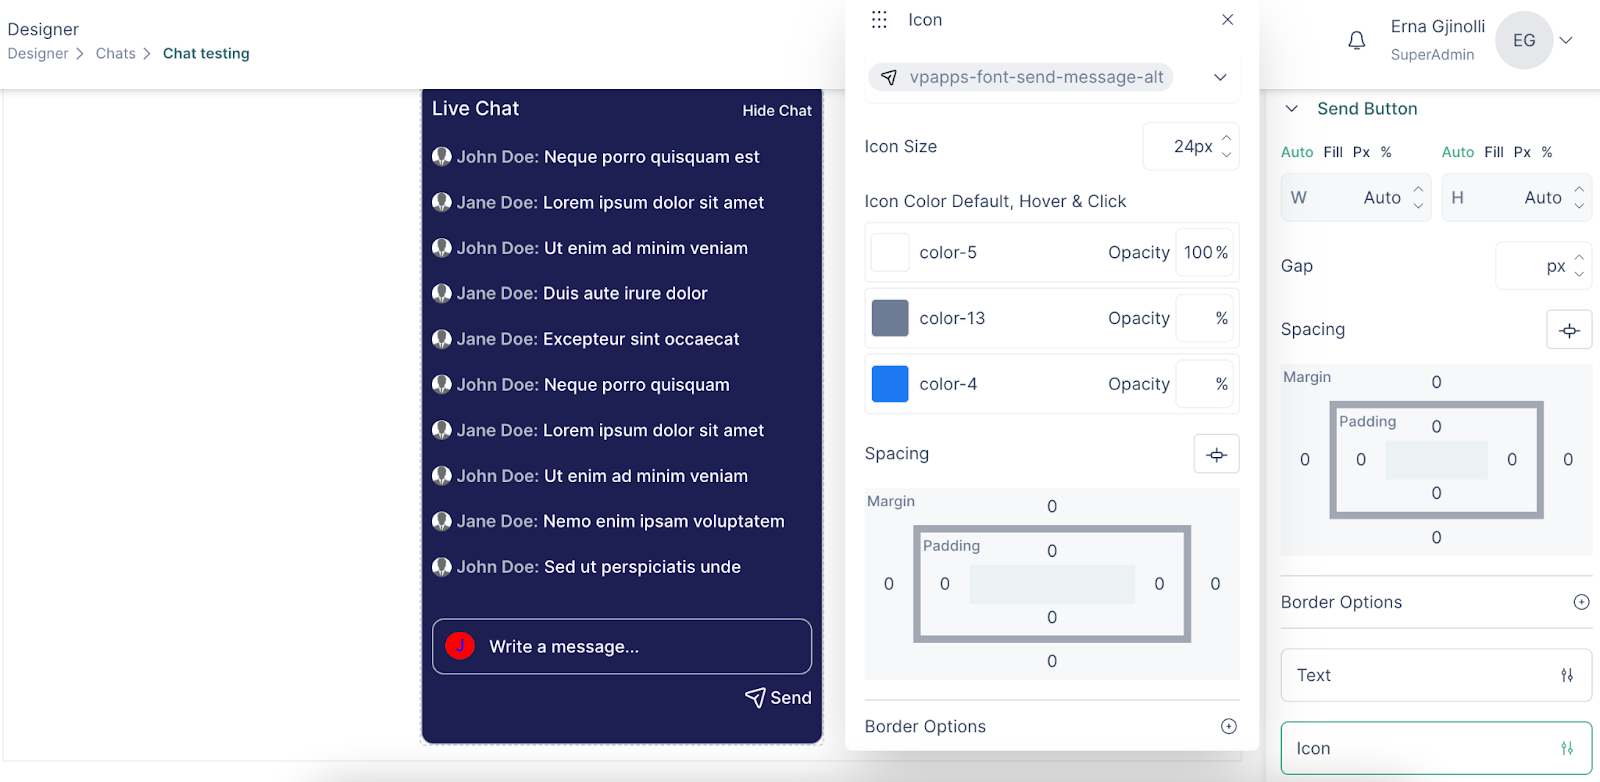
- Click on the ‘Apply’ button to save the changes.
Create chat
After a chat has been designed, it is necessary to create the chat for a media, as it is done in an individual manner for each media.
Here’s how it works:
On the sidebar, go to Engagements and then click on the Chat section.
On the dropdown, choose “Media” as a chat source.
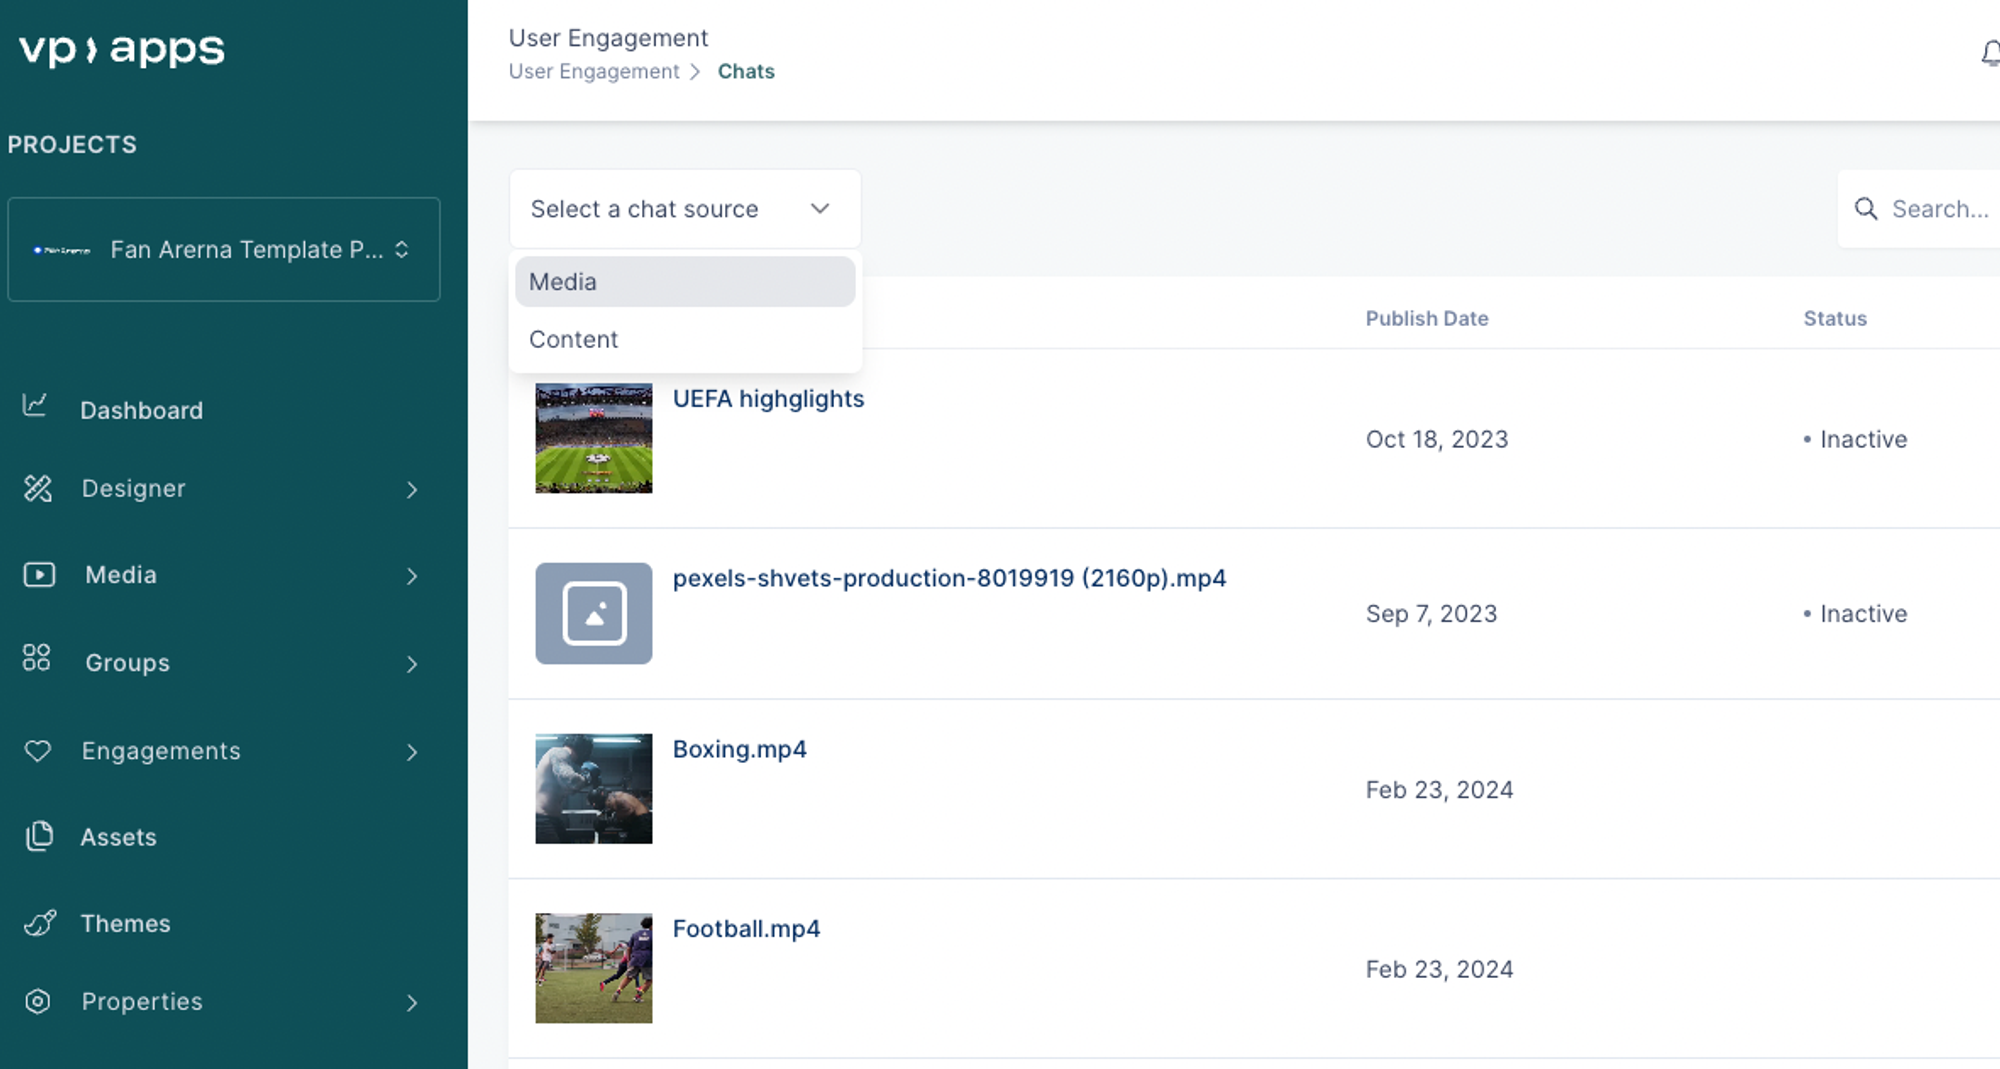
In the chat page, all media of the project will be listed.
Choose any media in which you want to activate the chat for.
Click on the ‘Create new chat’ button and enter a chat title.
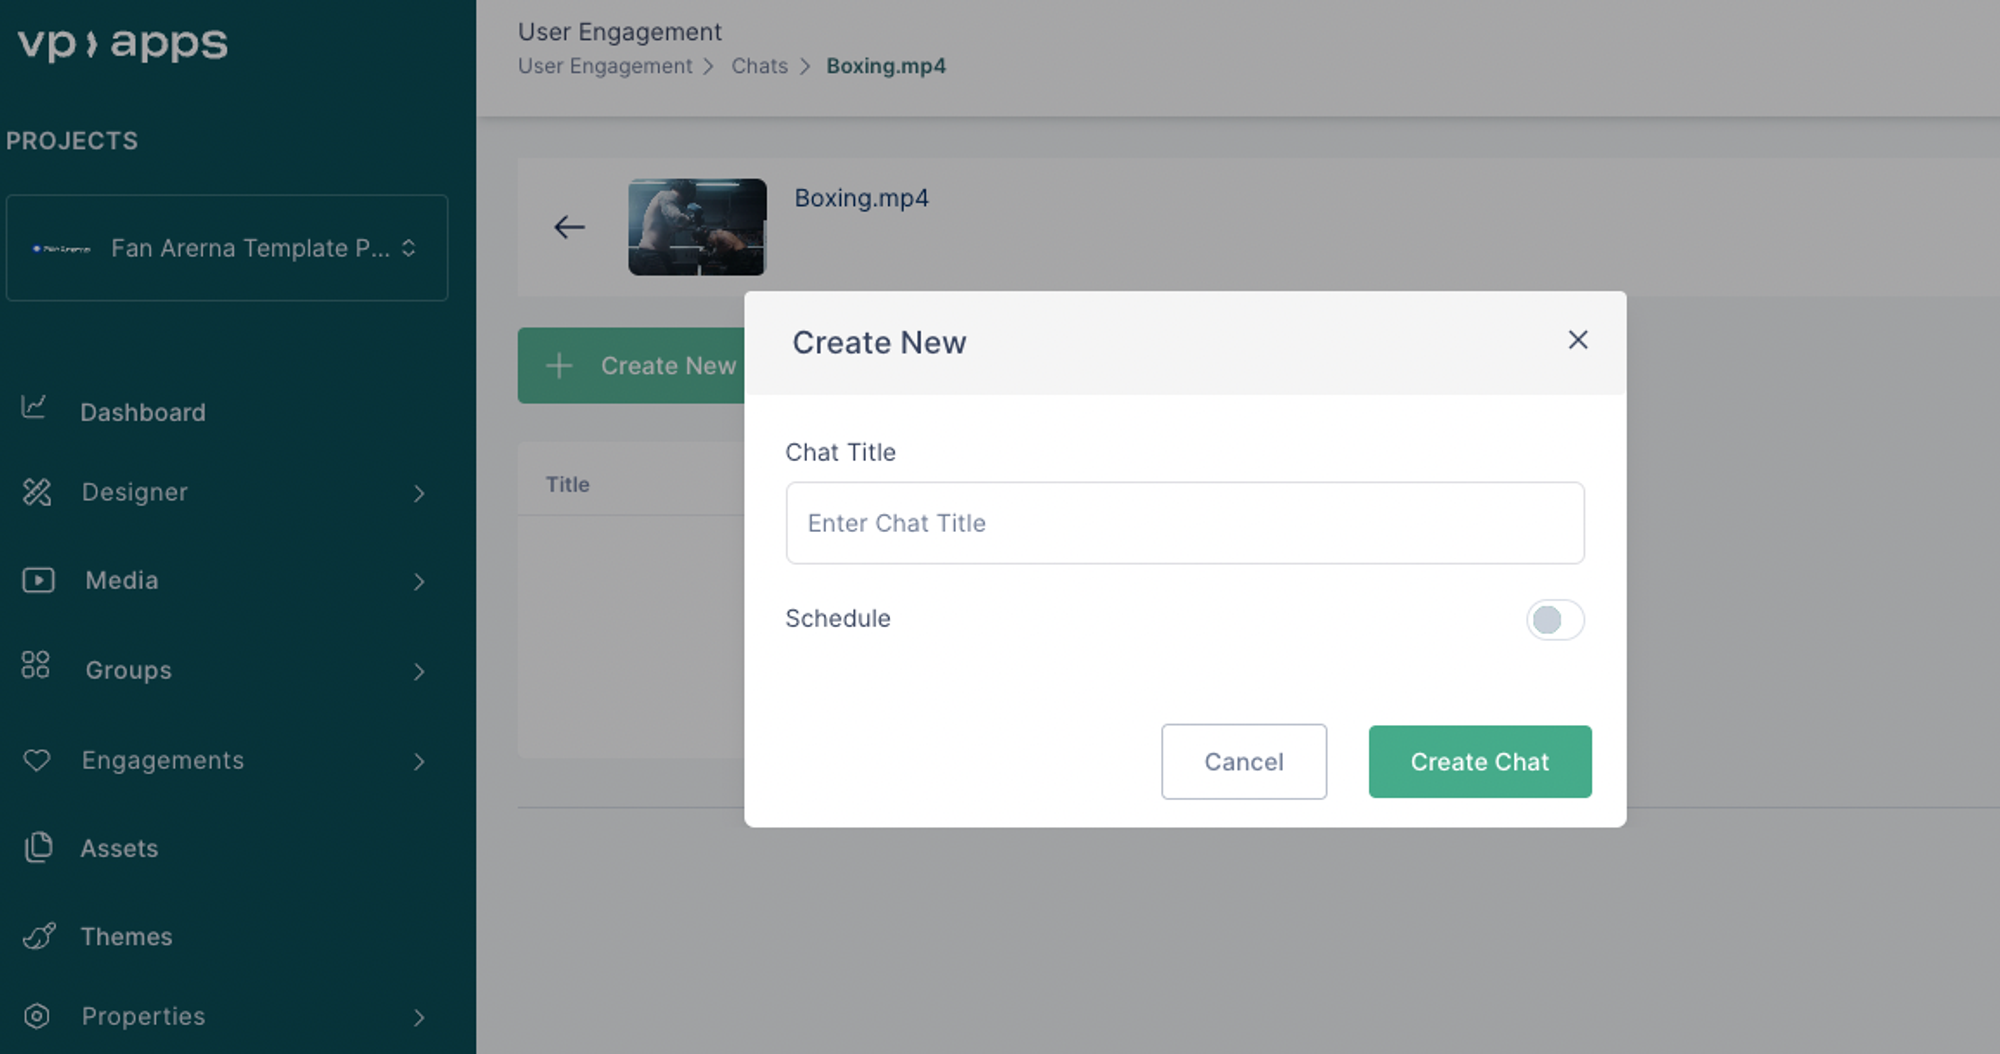
You can also schedule a chat by enabling the ‘Schedule’ option.
Click ‘Create’.
Activate chat
After a chat has been created in the Engagements section, it is necessary to activate it so that it is available to the end-users to engage in.
Go to the media which has a chat.
Click on the ‘Start chat’ button.
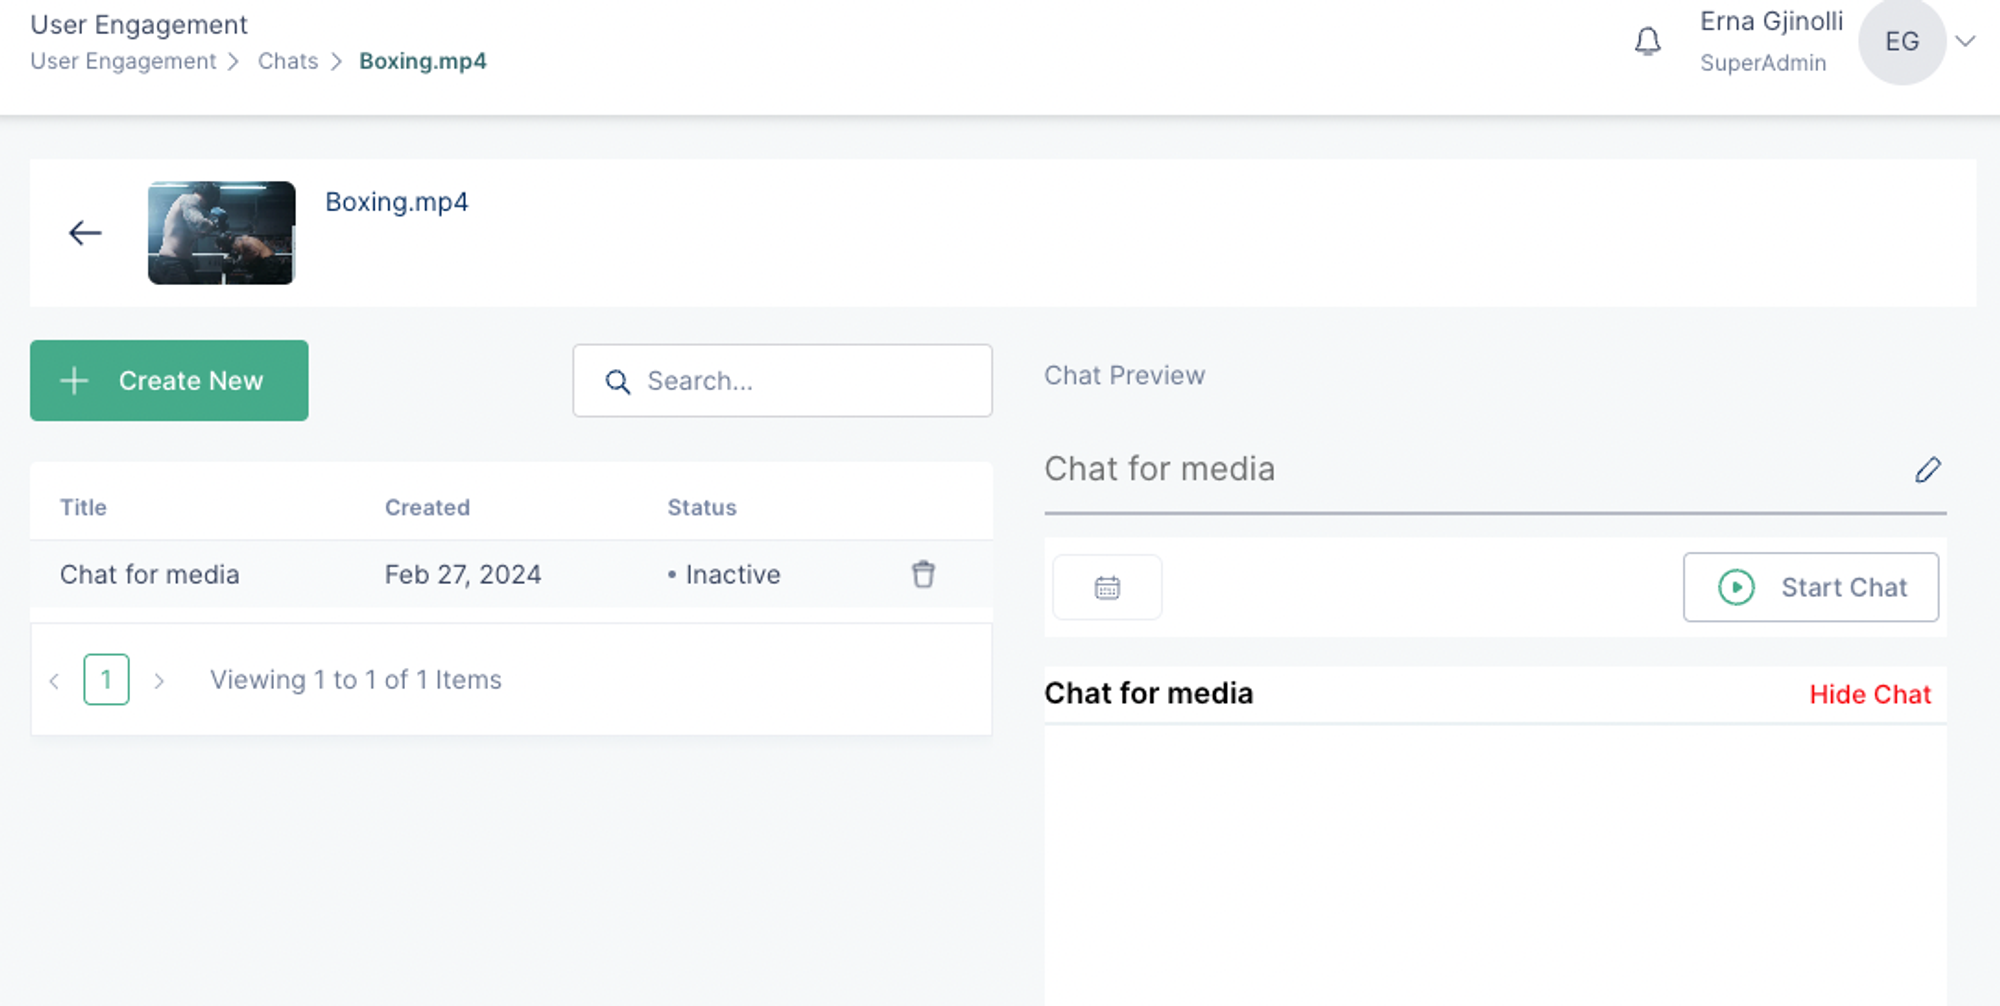
After the chat has started, its status will change to ‘Active’ and it will be available on the media page.
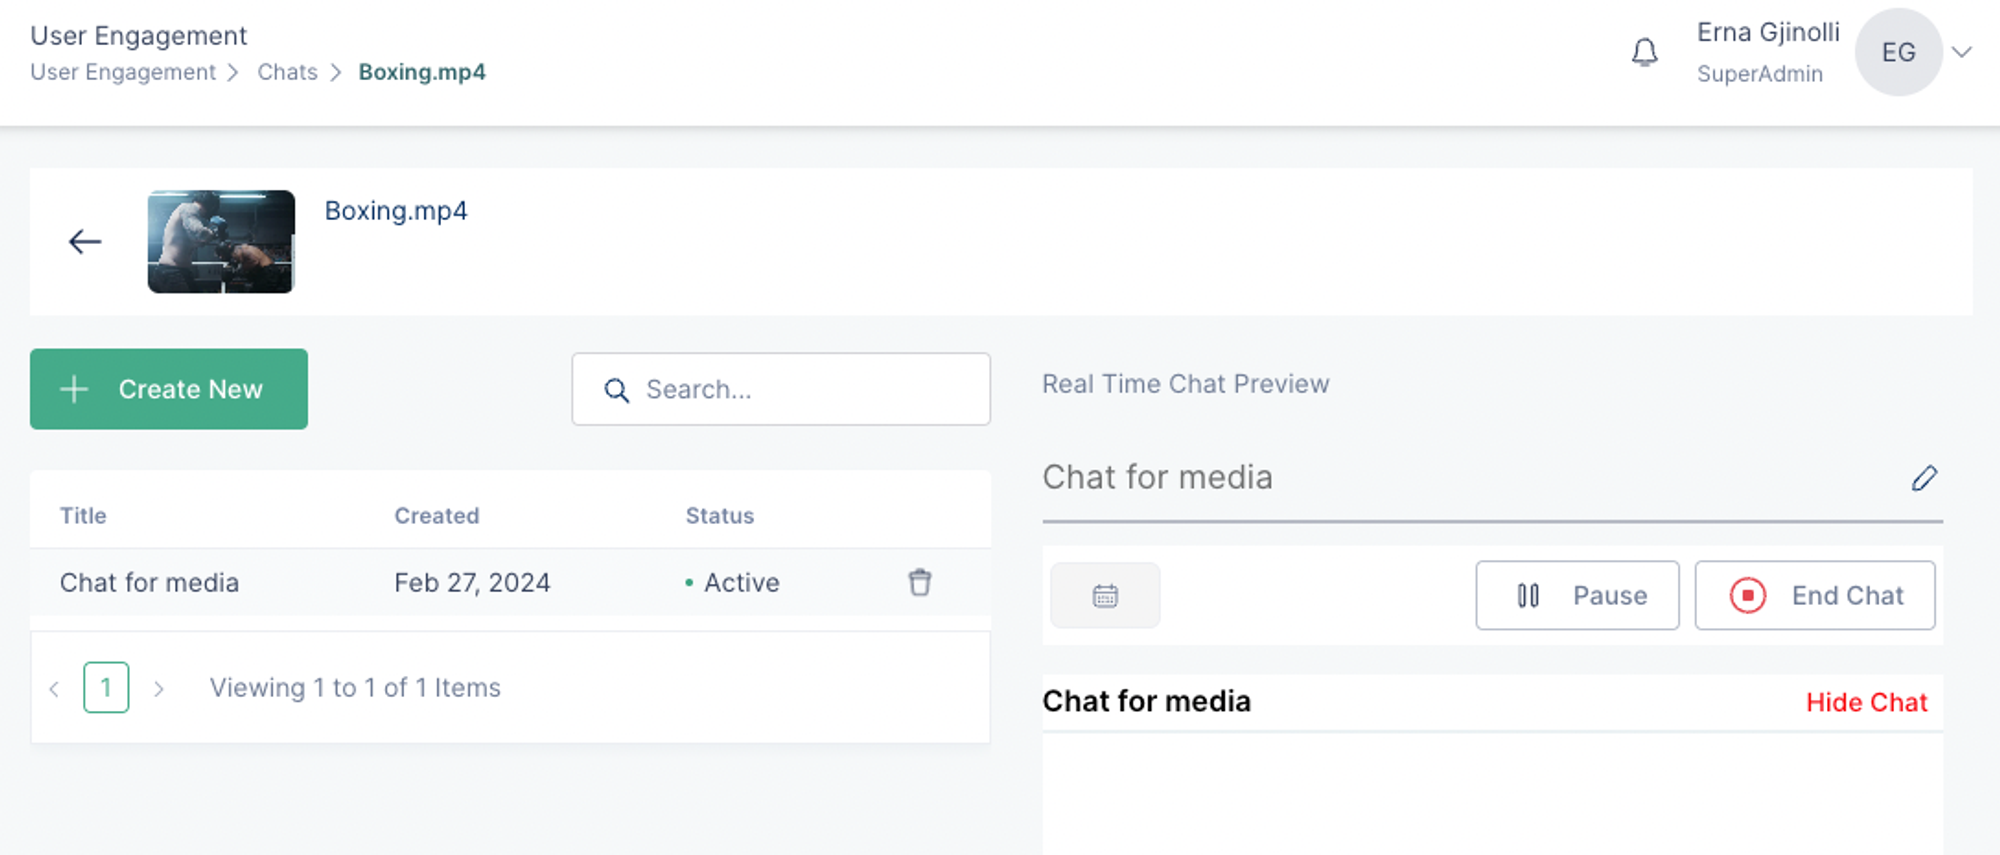
A chat can be paused, in which case the chat will appear as paused to the end-users and they will not be able to type any messages. You will be able to resume a chat.
Once a chat has ended, it cannot be resumed and it will not be accessible to the end-users.
In order for the chat to appear on a media page, it is necessary to add the chat component to the media page.
Message management in chat
Through the admin of VP Apps, it is possible to manage the messages in chat. This means that they can be deleted by the chat administrator.
To delete a message on a chat, follow these steps:
- Go to the Chat via the Engagement section in VP Apps admin.
- Enter the media in which the chat is active.
- Choose the message which you want to delete.
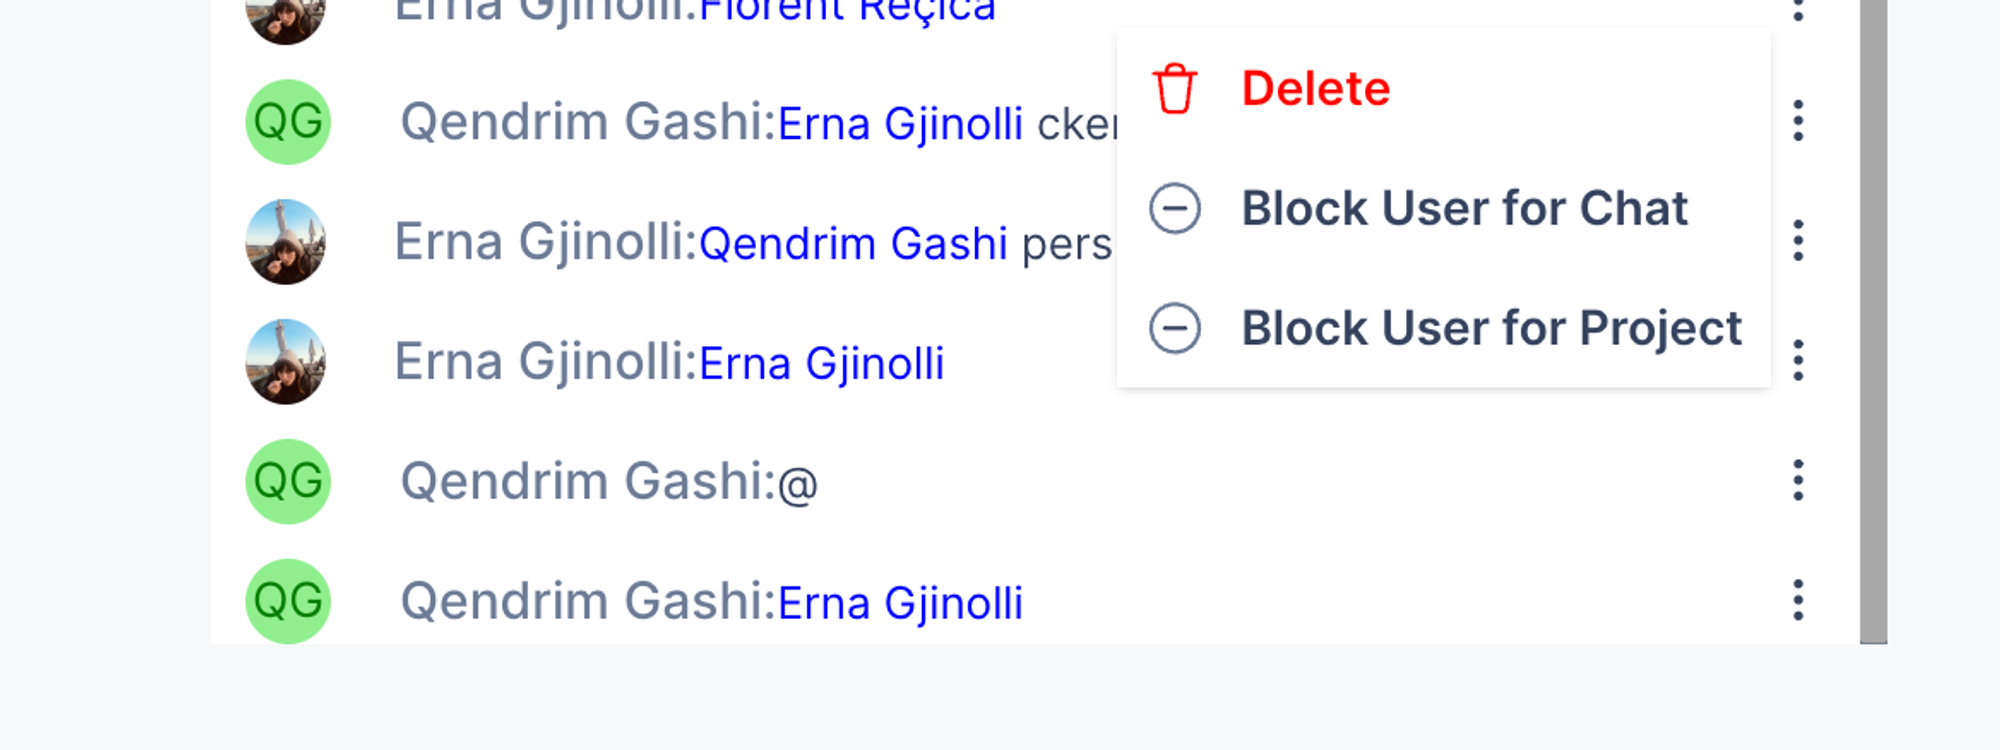
- Click on the three dots on the right side of the message and click ‘Delete’.

- The message will be deleted instantly.
User management in chat
Whenever necessary, through the admin of VP Apps, it is possible to limit the access of users to the chat.
This limitation can be applied on a project level i.e Any chat that is created on that project will be inaccessible by the blocked user(s).Or on a chat level i.e The user will not be able to engage in the chat, however if another chat is created, that same user will be able to engage in it.
To block a user, follow these steps:
- Go to the Chat via the Engagement section in VP Apps admin.
- Enter the media in which the chat is active.
- Choose the message which that particular user has written.
- Click on the three dots and choose one of the options to block the user.
Read more about activating the Chat under the User Engagement section.